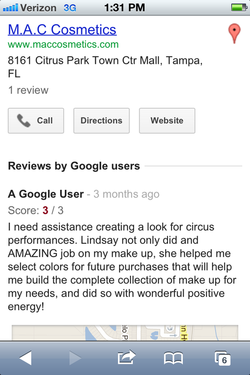
 Holy guacamole! Found this little gem today online after a customer told me about it... 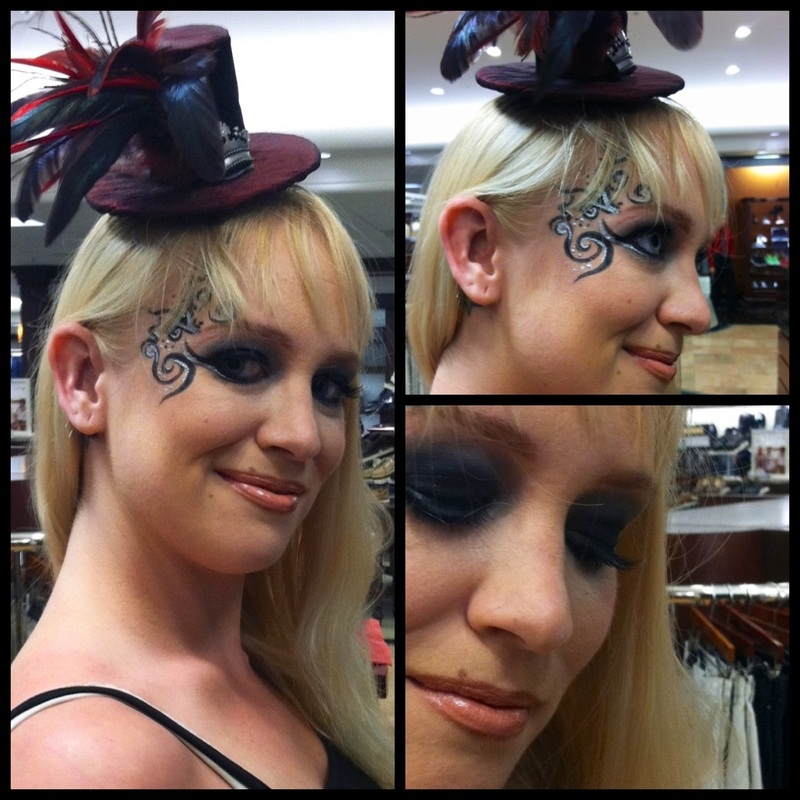
Here's the lovely lady that left me that review! I wish I could've seen her perform!
0 Comments
Face: Prep & Prime Skin Prolongwear Concealer & Foundation Studio Fix Powder Mineralize Skinfinish in Dark (contour) Peaches Blush Too Chic Beauty Powder (highlight) Eyes: Painterly Paint Pot, per usual. Nylon (lid) Samoa Silk (crease) Brown Script (crease/corner) Gesso (Highlight) Blacktrack & Fascinating Liners Zoom Lash #43 lashes Lips: Chicory Lip Pencil Crosswires Lipstick 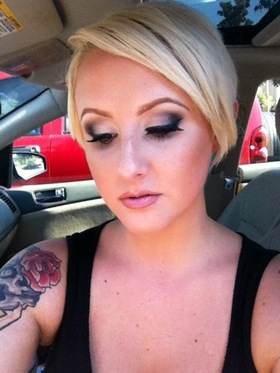
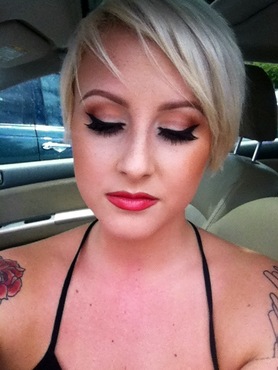
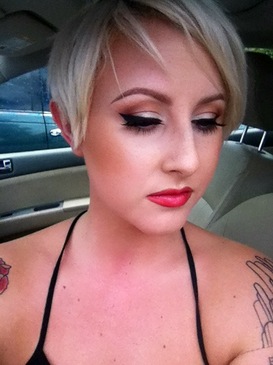
Face:
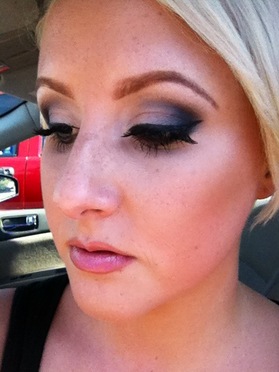
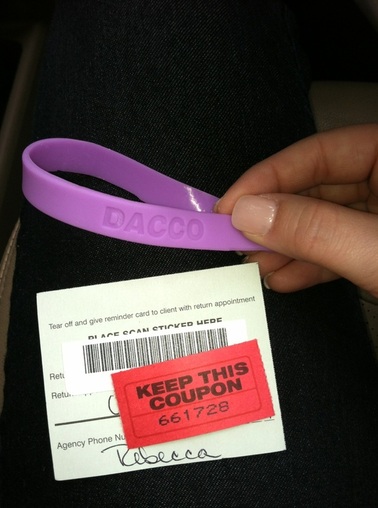
Prep & Prime Skin Studio Sculpt with #188 brush to make it more sheer Prolongwear Concealer Mineralize Skinfinish Natural Nars Laguna Bronzer (contour) Warm Soul Mineral Blush Soft and Gentle Mineralize Skinfinish Eyes: Painterly Paint Pot Crystal Avalanche (lid) Copperplate (crease) Print & Carbon (corner) Gesso (highlight) Blacktrack liner Zoom Lash #43 Lashes Lips: Honeylove Lipstick Have to Have it Liner Luminary Lusterglass  Earlier this week I had the pleasure of working with my fellow makeup artists at DACCO for national HIV testing day. DACCO, Drug Abuse Comprehensive Coordinating Office, provides residential and outpatient treatment for both alcohol and drug related addictions. Many facilities nationwide were offering free or discounted HIV tests to the public. I, of course, took advantage of this and got my yearly test. I can't preach enough about how important it is to get yourself tested on a regular basis. Whether you are in a monogamous relationship or not, it's important to get tested routinely. It takes a whopping 3 minutes! Between a crappy tasting oral swab and the 30 second questionaire it was truely painless. Protect yourself and your loved ones, suck it up, and go get tested. No one is above HIV. Here are some photos from Monday: 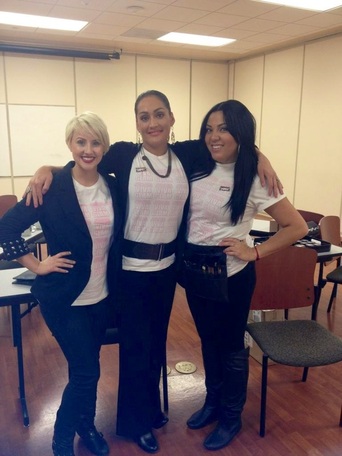
Team MAC! Representing Viva Glam and the MAC AIDS fund!
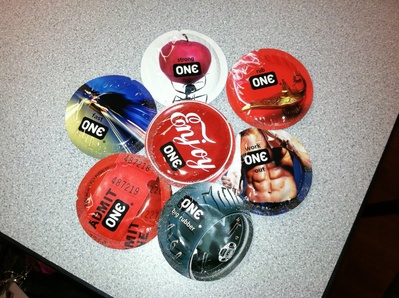
The funniest rubbers I've ever seen in my life..


This poor woman braved tropical storm Debby in order to get her makeup done for a family member's wedding! Talk about devoted...
Here's what I used: Eyes- Brun (eyebrows) Painterly paint pot Nylon (lid) Weathered Prolongwear eyeshadow (crease) Typographic (outer corner) Blacktrack (upper and lower lashline and waterline) Zoom waterfast lash #36 lashes Face: I did a "skin cocktail" by mixing two pumps of Studio Fix Fluid with one pump of Prep and Prime Skin and a few drops of Pink Rebel Lusterdrops. (My lovely coworker Tiffany gave me the idea!) Prolongwear Concealer (under eyes, down center of nose, forehead, around lips) Select Sheer pressed powder Cheeks: Cubic blush Give Me Sun mineral bronzer Lips: Blankety lipstick Nice N' Spicy prolongwear liner Baby Sparks dazzleglass Nothing looks worse than a thick layer of concealer slapped on the skin with ink still peeking through. When trying to conceal something with an intense amount of color, such as a tattoo or bruise, the trick is to color correct. Applying a thick layer of concealer will only give a plastic mismatched effect to the skin, and most likely won't cover the ink completely. See below: 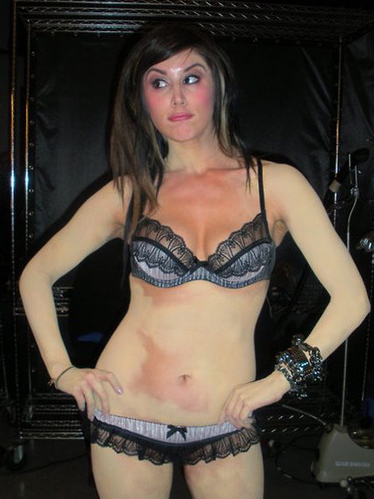 Now, unless your photographer is really good at photoshop, or you don't mind looking like you're covered in chemical burns this may not be a very good idea. In order to hide a tattoo, with or without special tattoo concealer, you need to color correct first. So here, my friends, is a color wheel: 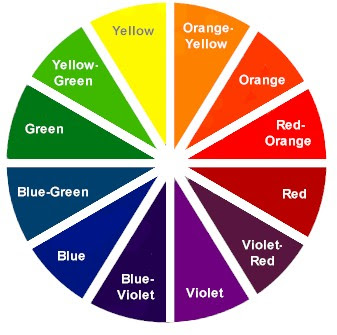 I'm sure many of you haven't seen one of these since elementary school, but understanding this is key! Color correcting is all about covering one color with its opposite. For example, a very common trick with concealing blemishes is to apply a green concealer. The green concealer will cancel out the red of the blemish and bring the skin back to a natural flesh tone. Therefore, in order to cover yellow ink apply a purple corrector, orange would be corrected with blue, and so on...For tattoo outlines and shading I use a light peach or orange toned product depending on the person's skin tone. The orange will cancel out the blue/green in the dark ink. Once you've corrected the color the trick is to work in thin layers; powder, conceal, repeat. I find this works better if you apply concealers that are far too light for your skin. Powder products always make things appear darker, so this trick always saves me from turning the skin too brown or somewhat grey. 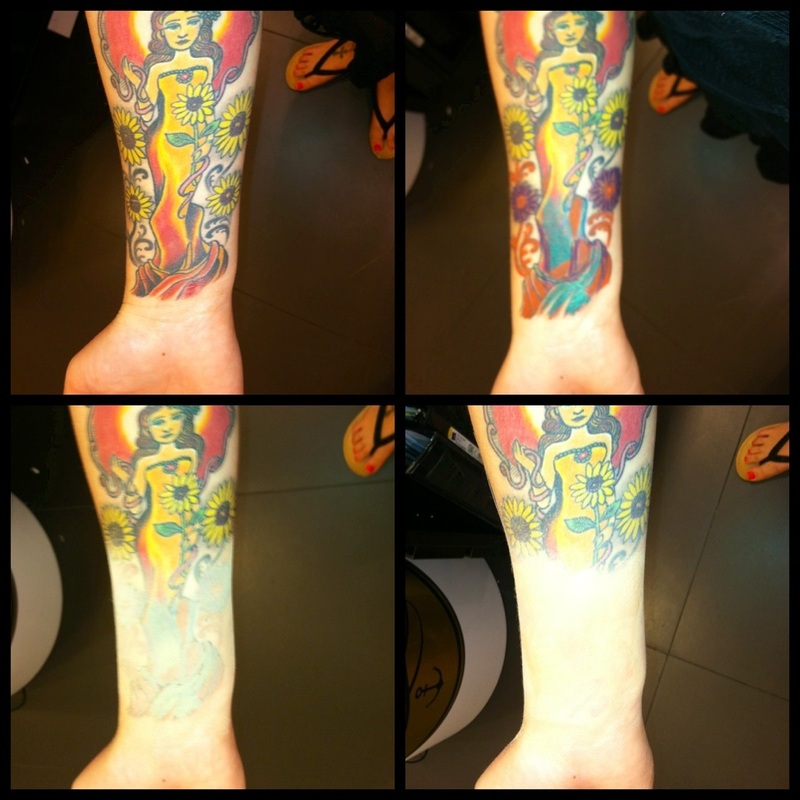 You may have to repeat the last two steps a few times, just remember to use thin layers and powder between each one. Best of luck!
It may be only June, but fashion week has come and gone and that can only mean one thing: the trends for this fall are hitting the market! Come August you'll start to notice the shift in trends from spring/summer into fall/winter and I can not wait! The color palette is inspired by cool tones, jewels, sepias, and neutrals. The textures play with metallic against mattes, and the skin is velvety. Lips are red and lashes are barely there. This upcoming season is all about picking a feature and amplifying it, then softly building the rest of your makeup around it. Whether it's a strong brow, geometric liner, or intense contour, this season will put a masculine spin on feminine beauty makeup. 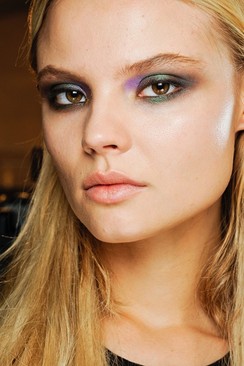
Jewel tones seem to make a comeback every winter, but this season the placement is different. Try mixing up the way you apply your eyeshadow and go outside of the box with where you place color. Mix matte and metallic textures, and skip a brow highlight. Light washes of shadow are leading this season's styles vs. high impact intense color 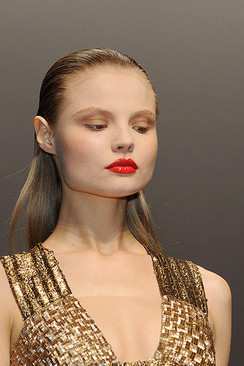
Red lips are a classic look that you can't go wrong with. The modern spin on this season's red lip is to pair it with a truly nude eye; think "no makeup makeup!" Skip on loading up on the mascara, and if you can't live without it try only applying it to the top lashes. Apply a wine or burgundy colored stain if bright red is too intense! 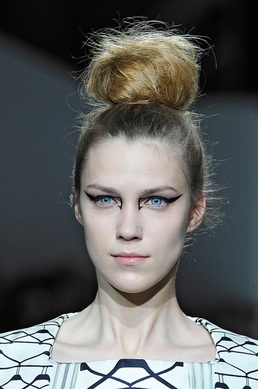
Graphic eyeliner gets more geometric this season. Instead of a classic winged out liner this look is more about adding structure and architecture to the face. Not quite the classic look of winged eyeliner, this is definitely more of a statement. 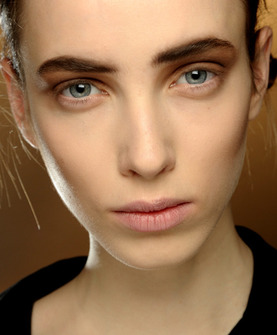
Brows are fuller and darker this season. Skip the tweezers and grab some clear brow gel! A fuller brow is youthful, but still strong.
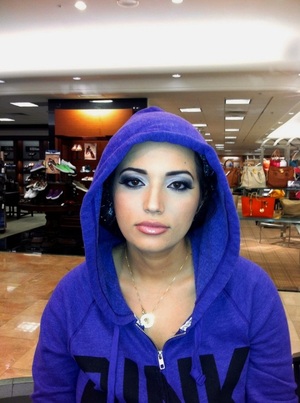
This season's contouring and highlighting has moved on from bronzed and glowy to cool and velvety. Creamier textures in cool browns are replacing warm bronzers, and highlights are less shimmery and more subtle. The look is all about playing with the natural shadows of the face to give depth and shape. Although runway makeup is beautiful, it isn't the most wearable. Take this season's trends and customize them to fit your lifestyle! Work with products you have, perhaps applying them with a new technique or placing them differently. You'll be surprised with what you end up with! Don't be afraid to be a little messy or make a mistake. Makeup isn't supposed to be perfect and clean. Let's face it, not everyone wants to tote around a makeup bag with 50 different products in it, it's just not practical. So today I gave myself a challenge: Create a polished makeup look using as few products as possible. Here's the before, after, and products I chose: 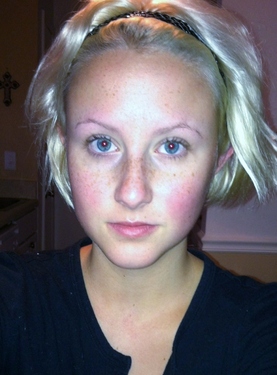
Woof!


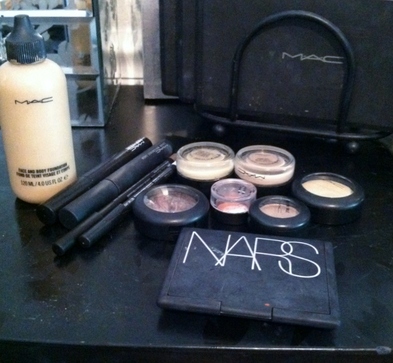
I went with a natural/neutral color scheme and kept the coverage pretty sheer. I applied Prep & Prime skin beforehand to enhance the wear of the makeup and give a mild amount of moisture to the skin. For foundation I chose Face & Body foundation, which is great for a light, natural coverage. I skipped powder today in order to leave more of a shine to the skin, and went over the high planes of my face with Pearl Cream Colour Base to bring out the highlights. Nars Laguna bronzer was my contour, which I also used as a crease color instead of an eyeshadow. For the eyes I used Painterly Paint Pot, two limited edition shadows in neautral tones, and fascinating eye kohl. White eye kohl is a necessity for any natural/neutral makeup look! It opens the eye and cancels out any redness on the the water line! I filled in my brows with Dirty Blonde brow pencil and finished with mascara. The Paint Pot doubled as an under eye concealer; and I used Keep It Loose Casual Colour on my cheeks and lips! Ta-Da! Quick, low maintenece makeup!
Today I had the opportunity to put my advanced certifications to work! I love doing camoflauge, but it's not something I'm able to do very often. This evening a client came in looking for a product to conceal a scar on her neck. Here are her before and after photos: 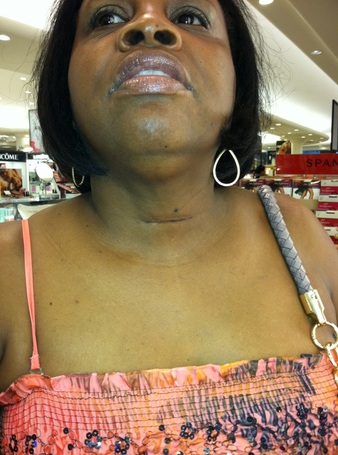
Unedited

Unedited
Ideally I would have liked to conceal the texture a little bit more, but I wanted to keep the products minimal and practical. Recently I have been a fan of using Paint Pots from MAC as concealer. They offer a full coverage, matte finish, and are water resistant. I chose the shade Quite Natural, and then buffed NW45 Studio Fix Powder on top to neutralize the color. I would have liked to incorporate some foundation and perhaps line filler to help smooth the skin, but we needed to find a routine that was practical for her everyday life.
Paint Pots are great products for covering tattoos, birthmarks, scars, etc...Basically anything that requires a heavy amount of coverage. I have noticed that many full coverage concealers give a "made up" look to the skin, which is fine on the face, but not ideal for the body. Paint Pots mimic the texture of skin, thus giving a more natural effect. My first client today was on her way to have her engagement photos taken, and I jumped on the opportunity to take a few photos of my own! Clearly I'm not a photographer, but here are her before and after photos: 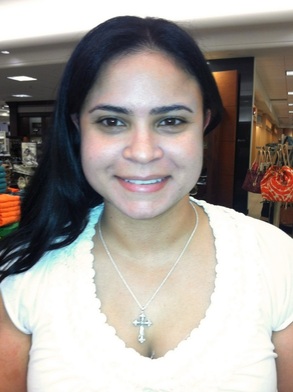
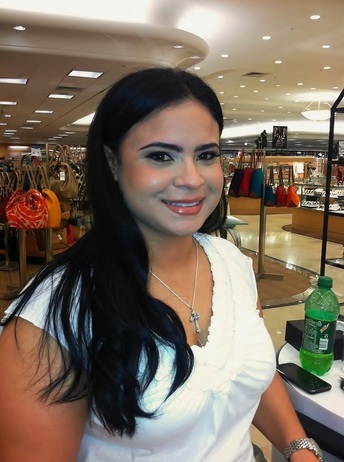
I'm a total sucker for beauty makeup, especially bridal makeup. On Janette we decided to go with light brown shades on the eyes, and keep the lashes and skin the main focus. I used #4 lashes from MAC, which are great for brides! They are natural, but still elegant and sexy.
We kept her foundation light and matte. Satin textures photograph beautifully, but for a beach shoot in Florida we needed as much shine control as possible! I used one sheer coat of prolongwear concealer as a foundation and Prep & Prime highlighter under the eyes and on the high planes of her face. I finished off the skin with a light dusting of mineral powder. For cheek color I used Keep It Loose causual colour from MAC. These are AMAZING cream blushes that double as a lip color. Not only are they convenient, but they are practical and simple to use. Creamy products always look nice in photos, and they give the skin a nice glow without being too shiny. On her lips I used Modesty lipstick, Nice N' Spicy Prolongwear Lipliner, and Big Baby Plushglass. I can't wait to see the professional photos! Howdy y'all! Here's yesterday's makeup of the day. I decided to follow my previous post with one of my favorite smokey eye combinations. 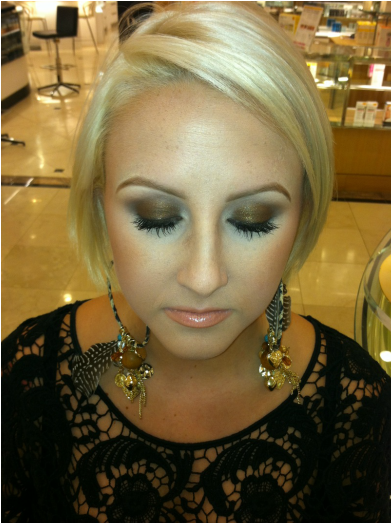 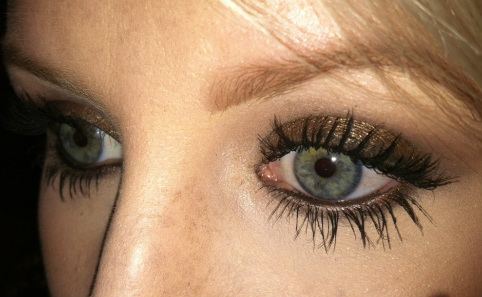 First, I applied a dark base all over the lid; I used Blitz & Glitz Fluidline from MAC. Then I packed Bronze eyeshadow onto the lid with a shading brush like the 239. Next, I blended Charcoal Brown eyeshadow into the crease with a 217 brush. This step is key because it gives the smokey eye a blended effect. Finish it off with your favorite brow highlight, eyeliner, and and a few coats of mascara!
I contoured my face with a 109 brush and Dark mineral powder. Follow the hollows of your face. The point of this is to play with light and shadow! Wherever your face sinks in is where you want to apply your contour; I.E: under your cheekbones, temples, jawline, etc... On the cheeks I applied Peaches blush, and Pearl cream colour base as a highlight. For a lip color I chose Freckletone lipstick, Subculture liner, and Orange Tempera gloss. Best of luck :) |
Lindsay TravisMy attempt at keeping up with the times... Archives
June 2016
Categories
All
|
 RSS Feed