|
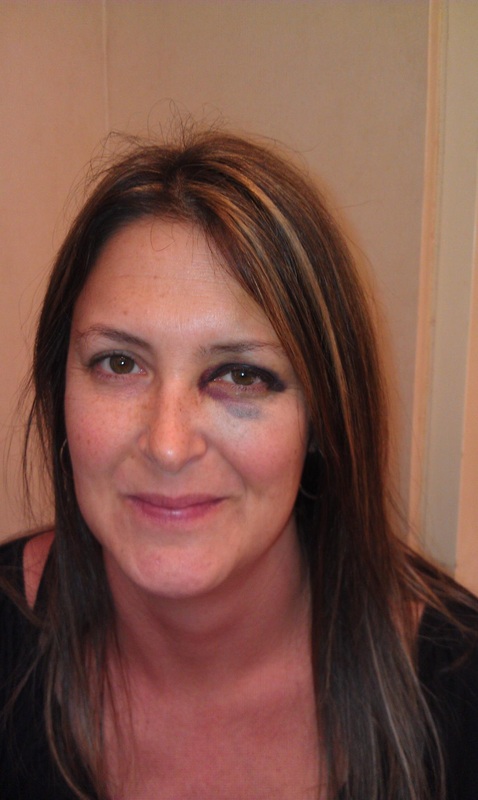
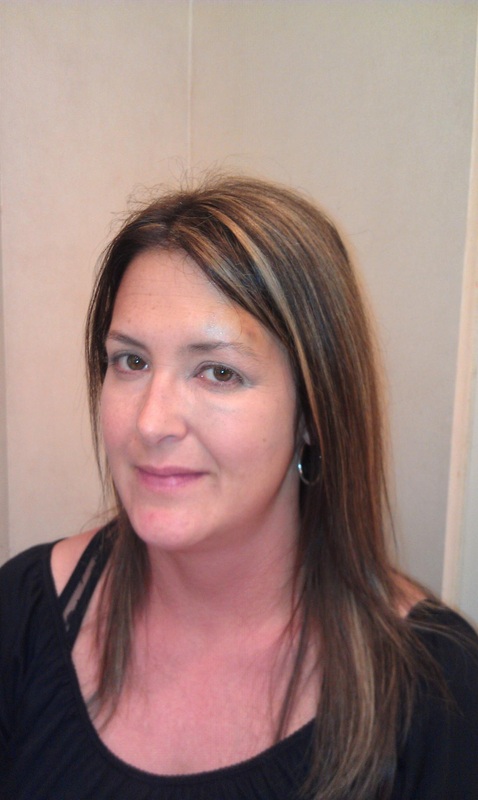
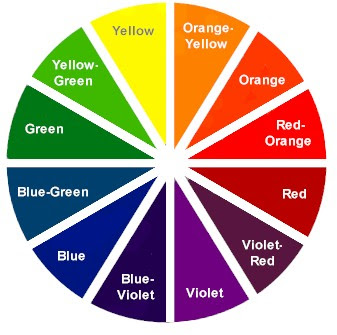
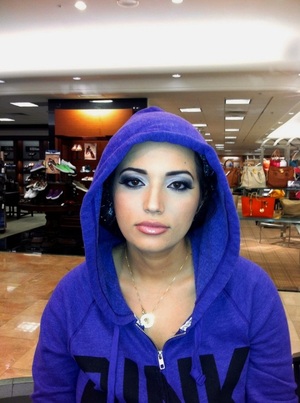
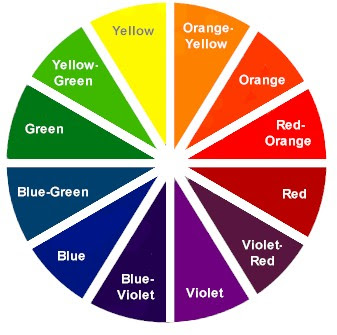
Glad I could help this lovely lady cover that shiner....Ouch! Someone had a little too much fun on their birthday! When covering a bruise it is important to remember to color correct. Remember our handy color wheel? My client's bruise was mostly a dark blue shade, in person at least. If you look at the color wheel the opposite of blue is orange. Therefore, in order to cancel out the blue we would have to apply an orange product onto the bruise then follow with concealer. I applied a sheer layer of Chilli Lipstick to counteract the blue. When I grabbed the bright burnt orange lipstick my client looked at my like I had 2 heads! I assured her that this was a KEY step in order to conceal her bruise. If you apply concealer on top of a bruise or tattoo without doing any sort of color correcting the end result will look grey and muddled.
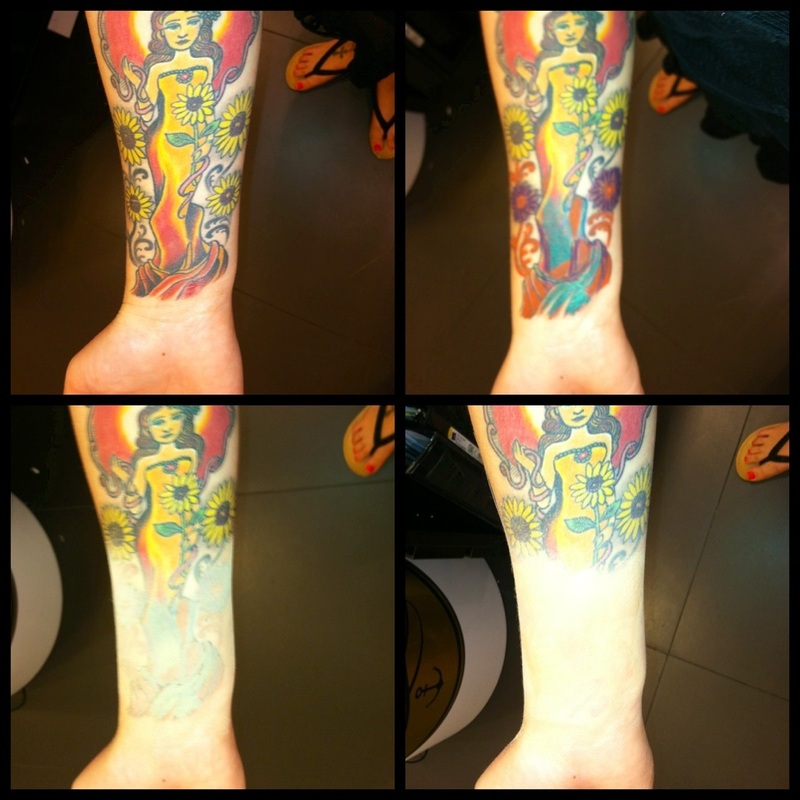
After lightly applying the Chilli Lipstick all over her eye area I dusted on a small amount of powder. Lightly powdering after each step helps build layers without the product caking. On top of the powder I used a sponge to apply Studio Finish Concealer. The sponge allowed me to apply a heavier layer of concealer. Again, I set this step with powder. Luckily that was all we had to do. Sometimes it is necessary to repeat the concealer and powder a few more times. Do as many layers as needed, if the end result looks a little heavy or made up just spray a little Fix + and buff out the edges. This technique can also be used to conceal birthmarks, tattoos, and scars..
0 Comments
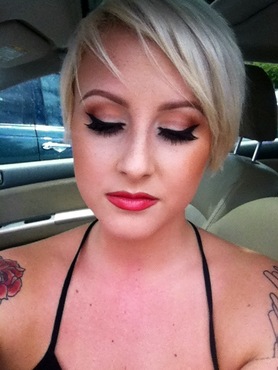
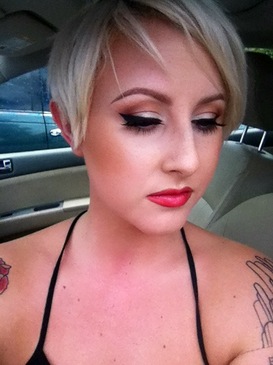
Face: Prep & Prime Skin Prolongwear Concealer & Foundation Studio Fix Powder Mineralize Skinfinish in Dark (contour) Peaches Blush Too Chic Beauty Powder (highlight) Eyes: Painterly Paint Pot, per usual. Nylon (lid) Samoa Silk (crease) Brown Script (crease/corner) Gesso (Highlight) Blacktrack & Fascinating Liners Zoom Lash #43 lashes Lips: Chicory Lip Pencil Crosswires Lipstick Face:
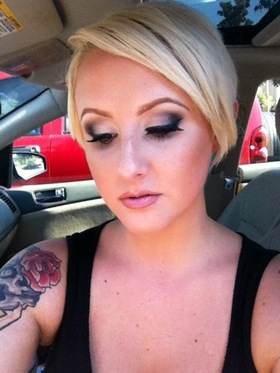
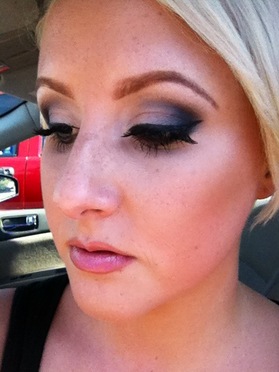
Prep & Prime Skin Studio Sculpt with #188 brush to make it more sheer Prolongwear Concealer Mineralize Skinfinish Natural Nars Laguna Bronzer (contour) Warm Soul Mineral Blush Soft and Gentle Mineralize Skinfinish Eyes: Painterly Paint Pot Crystal Avalanche (lid) Copperplate (crease) Print & Carbon (corner) Gesso (highlight) Blacktrack liner Zoom Lash #43 Lashes Lips: Honeylove Lipstick Have to Have it Liner Luminary Lusterglass This poor woman braved tropical storm Debby in order to get her makeup done for a family member's wedding! Talk about devoted...
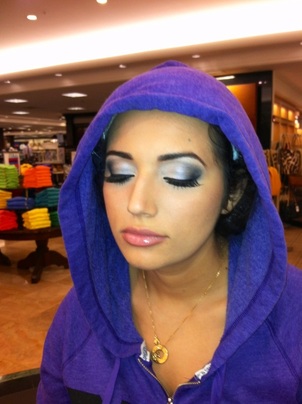
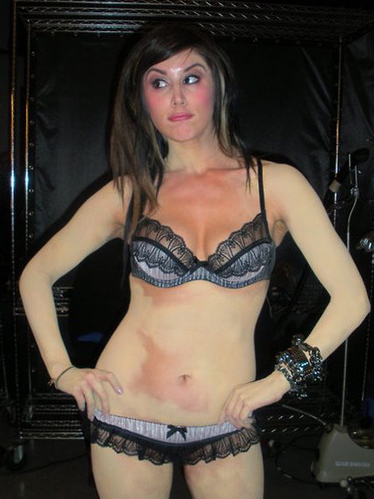
Here's what I used: Eyes- Brun (eyebrows) Painterly paint pot Nylon (lid) Weathered Prolongwear eyeshadow (crease) Typographic (outer corner) Blacktrack (upper and lower lashline and waterline) Zoom waterfast lash #36 lashes Face: I did a "skin cocktail" by mixing two pumps of Studio Fix Fluid with one pump of Prep and Prime Skin and a few drops of Pink Rebel Lusterdrops. (My lovely coworker Tiffany gave me the idea!) Prolongwear Concealer (under eyes, down center of nose, forehead, around lips) Select Sheer pressed powder Cheeks: Cubic blush Give Me Sun mineral bronzer Lips: Blankety lipstick Nice N' Spicy prolongwear liner Baby Sparks dazzleglass Nothing looks worse than a thick layer of concealer slapped on the skin with ink still peeking through. When trying to conceal something with an intense amount of color, such as a tattoo or bruise, the trick is to color correct. Applying a thick layer of concealer will only give a plastic mismatched effect to the skin, and most likely won't cover the ink completely. See below: Now, unless your photographer is really good at photoshop, or you don't mind looking like you're covered in chemical burns this may not be a very good idea. In order to hide a tattoo, with or without special tattoo concealer, you need to color correct first. So here, my friends, is a color wheel: I'm sure many of you haven't seen one of these since elementary school, but understanding this is key! Color correcting is all about covering one color with its opposite. For example, a very common trick with concealing blemishes is to apply a green concealer. The green concealer will cancel out the red of the blemish and bring the skin back to a natural flesh tone. Therefore, in order to cover yellow ink apply a purple corrector, orange would be corrected with blue, and so on...For tattoo outlines and shading I use a light peach or orange toned product depending on the person's skin tone. The orange will cancel out the blue/green in the dark ink. Once you've corrected the color the trick is to work in thin layers; powder, conceal, repeat. I find this works better if you apply concealers that are far too light for your skin. Powder products always make things appear darker, so this trick always saves me from turning the skin too brown or somewhat grey. You may have to repeat the last two steps a few times, just remember to use thin layers and powder between each one. Best of luck!
|
Lindsay TravisMy attempt at keeping up with the times... Archives
June 2016
Categories
All
|
 RSS Feed