 It's getting to be that time in our lives when we need to shed the college girl look and grow into a more mature style. Transitioning from sweat pants and last nights smeared eyeliner to business attire and lipstick can be quite the adjustment, but at some point we all must do it! A girlfriend of mine contacted me this evening asking advice on how to look more mature for her upcoming job interview. This really got me thinking! As young women entering the workforce we face a significant struggle when we want to be taken seriously and seen as educated professionals. The challenge becomes even harder when we are cursed, and at the same time blessed, with a juvenile appearance. As a young twenty something, I can share the frustration of many young women fresh out of college. Being qualified for a position and being turned down simply because of a young and inexperienced appearance can be very frustrating! Here are a few tips to help you prepare for that upcoming interview at a "Big girl" job! 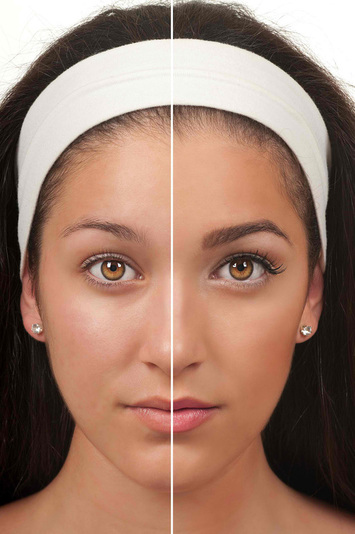
1. Do your eyebrows! Keeping your brows groomed and filled in will add an instant lift and structure to your face. If you are blonde choose a shade darker than your hair, and if your hair is dark be sure to chose a shade lighter than your hair! You'd be surprised how something so simple can make such a difference! 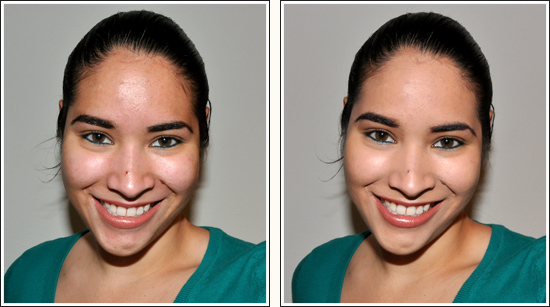
2. Wear foundation. Yes, even if you have good skin! Whether its a tinted moisturizer or full coverage, foundation will help even out and brighten your skin. I would suggest going to your local makeup counter and having one of the artists match you up to the proper foundation. Don't be afraid of that "cakey" look! If you are matched to the right kind you wont be cakey! Remember- the key to having good looking foundation is to use proper skin care! 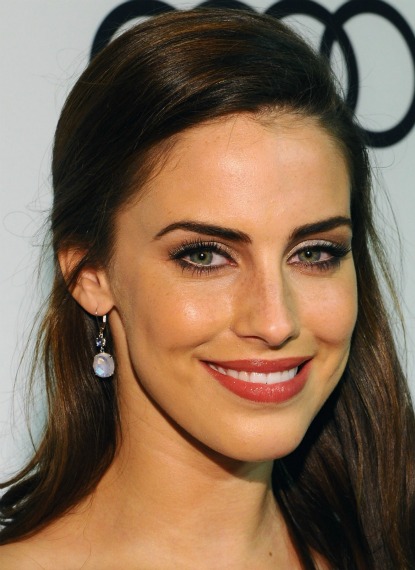
3. Wear a lipstick with some color! Berry and rose tones tend to look good on most people. Stay away from pastels and nudes which tend to look young and trendy. Look for more classic timeless shades that aren't too dark or bright for the office. I love Viva Glam 6 from MAC with Half Red or Whirl lipliner- looks great on almost everyone! For darker skinned girls try Sheer Plum lipstick with Plum, Cork, or Chestnut liner.
A few more helpful tips... *Use mostly matte shades. A subtle shimmer on the eyes is alright, but try to avoid using more than one shimmery shades. Also, use a matte blush or bonzer. *Stay away from pastel or bright blush, go with a more neutral shade. Some good colors include Tenderling, Blushbaby, Coppertone, and Raizin, to name a few.. *Leave your dark smudgy eyeliner behind! Smears and smudges always scream "Party girl" to me. Save that great eye kohl for the weekend. *Less is more! Don't let your makeup draw attention away from your qualifications! Good luck! :)
0 Comments
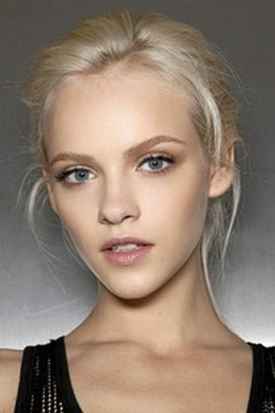
When it comes to makeup "natural" and "neutral" are two classifications that I hear frequently. Although the terms can tie in together and describe a similar look, that is not always the case. Natural makeup defines a look that is essentially nude. Think "no makeup makeup," or "second skin makeup." The color palette includes flesh tones, or colors you would naturally find in the skin without any makeup applied. Focus on highlighting and perfecting the skin to give it a "fresh faced" look. 
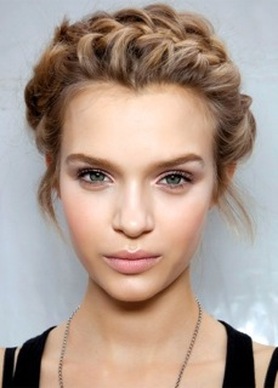

Lauren Conrad is a perfect example of natural makeup!
By definition neutral means "no color." A neutral makeup look could include muted shades of grey, earth tones, flesh tones, and shades from light to dark. Textures can be anything from matte to metallic. Neutral makeup doesn't necessarily need to be soft or light. 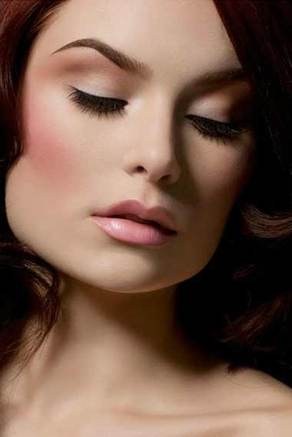
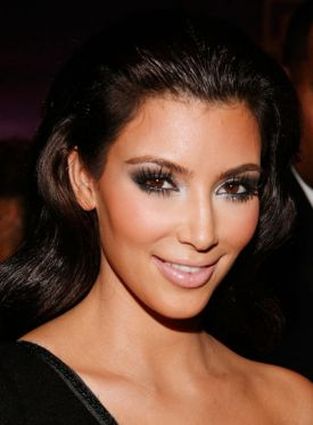
A majority of red carpet looks are kept neutral. Kim Kardashian is known for her neutral colored smokey eyes.
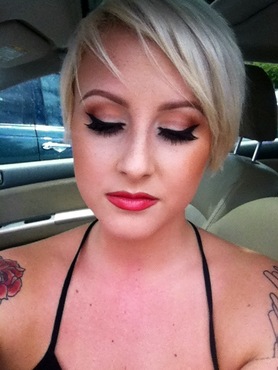
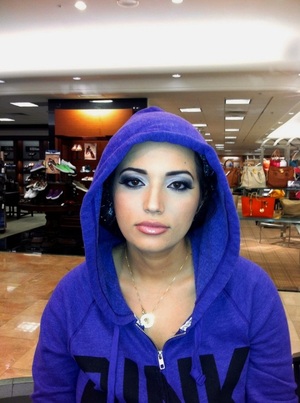
Face: Prep & Prime Skin Prolongwear Concealer & Foundation Studio Fix Powder Mineralize Skinfinish in Dark (contour) Peaches Blush Too Chic Beauty Powder (highlight) Eyes: Painterly Paint Pot, per usual. Nylon (lid) Samoa Silk (crease) Brown Script (crease/corner) Gesso (Highlight) Blacktrack & Fascinating Liners Zoom Lash #43 lashes Lips: Chicory Lip Pencil Crosswires Lipstick 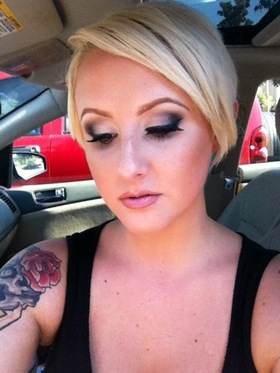
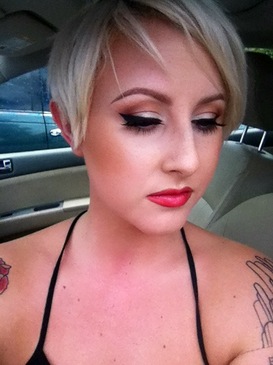
Face:
Prep & Prime Skin Studio Sculpt with #188 brush to make it more sheer Prolongwear Concealer Mineralize Skinfinish Natural Nars Laguna Bronzer (contour) Warm Soul Mineral Blush Soft and Gentle Mineralize Skinfinish Eyes: Painterly Paint Pot Crystal Avalanche (lid) Copperplate (crease) Print & Carbon (corner) Gesso (highlight) Blacktrack liner Zoom Lash #43 Lashes Lips: Honeylove Lipstick Have to Have it Liner Luminary Lusterglass 
This poor woman braved tropical storm Debby in order to get her makeup done for a family member's wedding! Talk about devoted...
Here's what I used: Eyes- Brun (eyebrows) Painterly paint pot Nylon (lid) Weathered Prolongwear eyeshadow (crease) Typographic (outer corner) Blacktrack (upper and lower lashline and waterline) Zoom waterfast lash #36 lashes Face: I did a "skin cocktail" by mixing two pumps of Studio Fix Fluid with one pump of Prep and Prime Skin and a few drops of Pink Rebel Lusterdrops. (My lovely coworker Tiffany gave me the idea!) Prolongwear Concealer (under eyes, down center of nose, forehead, around lips) Select Sheer pressed powder Cheeks: Cubic blush Give Me Sun mineral bronzer Lips: Blankety lipstick Nice N' Spicy prolongwear liner Baby Sparks dazzleglass Let's face it, not everyone wants to tote around a makeup bag with 50 different products in it, it's just not practical. So today I gave myself a challenge: Create a polished makeup look using as few products as possible. Here's the before, after, and products I chose: 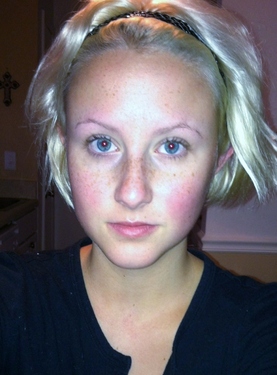
Woof!


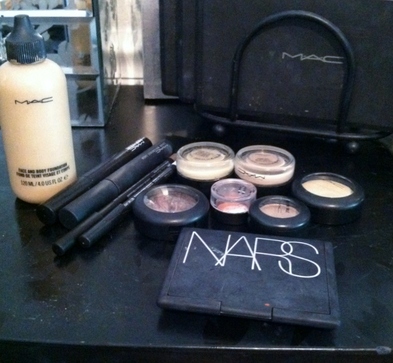
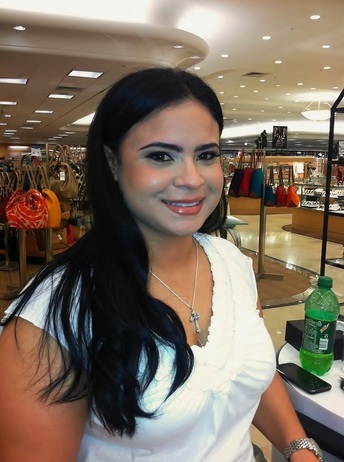
I went with a natural/neutral color scheme and kept the coverage pretty sheer. I applied Prep & Prime skin beforehand to enhance the wear of the makeup and give a mild amount of moisture to the skin. For foundation I chose Face & Body foundation, which is great for a light, natural coverage. I skipped powder today in order to leave more of a shine to the skin, and went over the high planes of my face with Pearl Cream Colour Base to bring out the highlights. Nars Laguna bronzer was my contour, which I also used as a crease color instead of an eyeshadow. For the eyes I used Painterly Paint Pot, two limited edition shadows in neautral tones, and fascinating eye kohl. White eye kohl is a necessity for any natural/neutral makeup look! It opens the eye and cancels out any redness on the the water line! I filled in my brows with Dirty Blonde brow pencil and finished with mascara. The Paint Pot doubled as an under eye concealer; and I used Keep It Loose Casual Colour on my cheeks and lips! Ta-Da! Quick, low maintenece makeup!
My first client today was on her way to have her engagement photos taken, and I jumped on the opportunity to take a few photos of my own! Clearly I'm not a photographer, but here are her before and after photos: 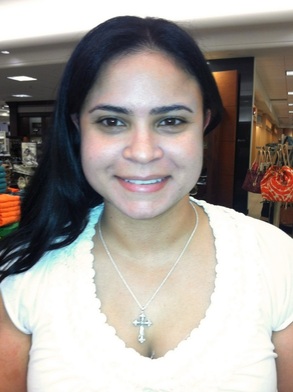
I'm a total sucker for beauty makeup, especially bridal makeup. On Janette we decided to go with light brown shades on the eyes, and keep the lashes and skin the main focus. I used #4 lashes from MAC, which are great for brides! They are natural, but still elegant and sexy.
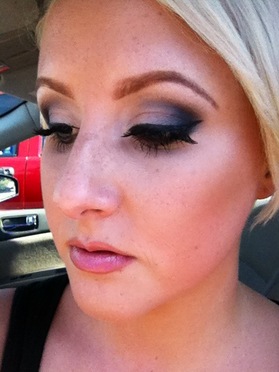
We kept her foundation light and matte. Satin textures photograph beautifully, but for a beach shoot in Florida we needed as much shine control as possible! I used one sheer coat of prolongwear concealer as a foundation and Prep & Prime highlighter under the eyes and on the high planes of her face. I finished off the skin with a light dusting of mineral powder. For cheek color I used Keep It Loose causual colour from MAC. These are AMAZING cream blushes that double as a lip color. Not only are they convenient, but they are practical and simple to use. Creamy products always look nice in photos, and they give the skin a nice glow without being too shiny. On her lips I used Modesty lipstick, Nice N' Spicy Prolongwear Lipliner, and Big Baby Plushglass. I can't wait to see the professional photos! Howdy y'all! Here's yesterday's makeup of the day. I decided to follow my previous post with one of my favorite smokey eye combinations. 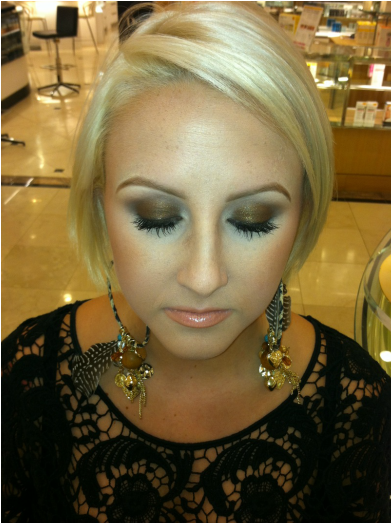  First, I applied a dark base all over the lid; I used Blitz & Glitz Fluidline from MAC. Then I packed Bronze eyeshadow onto the lid with a shading brush like the 239. Next, I blended Charcoal Brown eyeshadow into the crease with a 217 brush. This step is key because it gives the smokey eye a blended effect. Finish it off with your favorite brow highlight, eyeliner, and and a few coats of mascara!
I contoured my face with a 109 brush and Dark mineral powder. Follow the hollows of your face. The point of this is to play with light and shadow! Wherever your face sinks in is where you want to apply your contour; I.E: under your cheekbones, temples, jawline, etc... On the cheeks I applied Peaches blush, and Pearl cream colour base as a highlight. For a lip color I chose Freckletone lipstick, Subculture liner, and Orange Tempera gloss. Best of luck :) |
Lindsay TravisMy attempt at keeping up with the times... Archives
June 2016
Categories
All
|
 RSS Feed