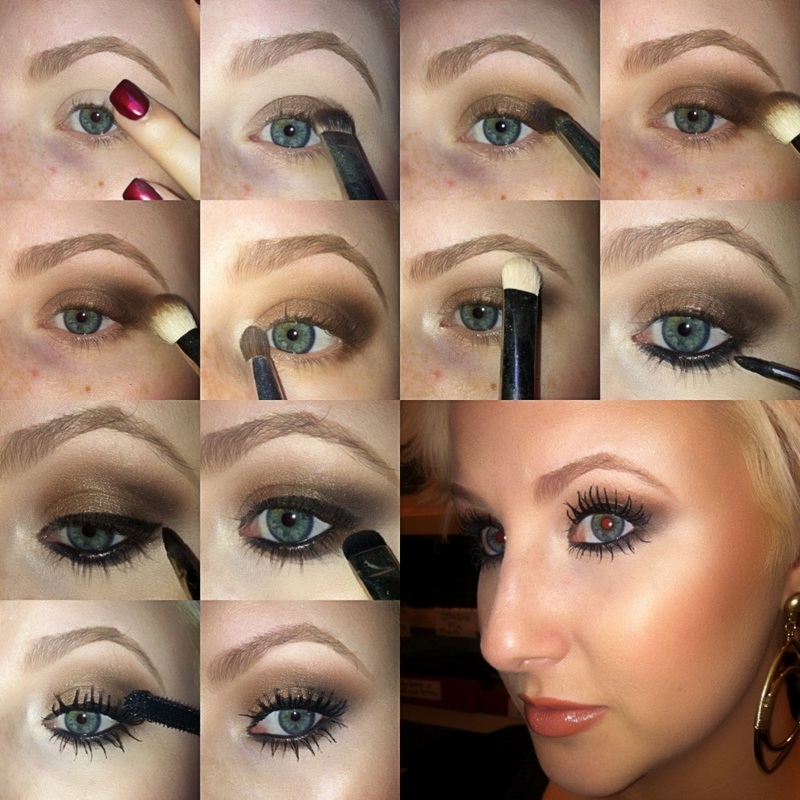
From left to right:
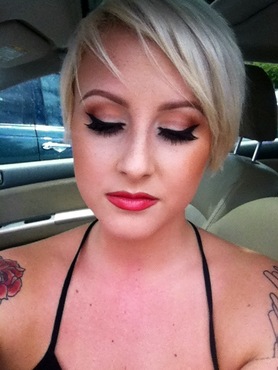
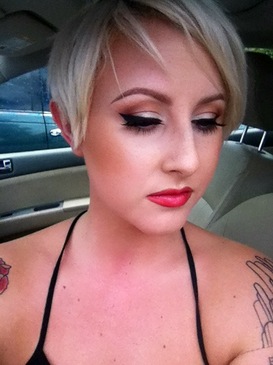
1. Prime eyes. I used MAC Painterly Paint Pot. I prefer my finger, but you can also use a synthetic shadow or concealer brush. 2. Apply Bronze eyeshadow all over the lid using a flat shader brush. I always grab the 239 or 242 for this...The more dense the bristles the more color payoff! 3. Using a deep brown, I used Bloodline pigment, and a 219 pencil brush pack the color on to the outer corner of your eye in a sideways V shape. Extend the eyeshadow a little bit further out past your lashes, this lays the groundwork for that elongated cat eye look. Bloodline is a limited edition pigment, but you could also use Smut, Handwritten, Embark, Mystery...any dark matte brown. 4. Sweep a 217 or 224 blending brush all along the crease to blend out the two shades you just applied. Focus on only touching the bristles to the crease area and try not to touch the lid at all! Blend up and out to create a gradient cat eye effect. Don't over blend! Over blending will just muddle all the colors together. 5. Take any small eyeshadow brush and apply a shimmery light color to the inner corners of your eyes. I used Nylon. This lightens the look and makes your eyes look brighter and well rested. If you have naturally wide set eyes you can skip this step. 6. Highlight under the brow bone. I almost always use Vanilla. I prefer a matte highlight, but any light shade will do. 7/8/9. Apply a black eyeliner to the top lashline, water line, and then smudge into the lower lashline with a 214 brush. I used Blacktrack fluidline, but you could also use Smolder or Feline Eye Kohl for a super smudgy smokey effect. You can also wing out your eyeliner to enhance the cat eye effect created with the eyeshadow! 10. Finish with mascara! TA-DA! Good luck!
0 Comments
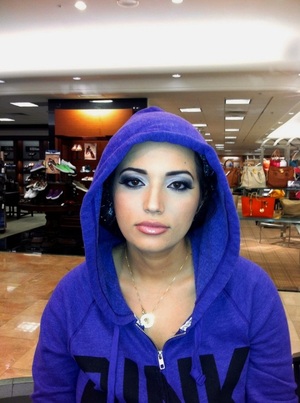
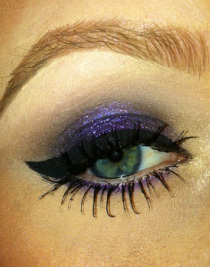 We all get in makeup ruts. I constantly find myself grabbing for my "neutrals" palette when I'm in a rush for work and then throughout the day I'm saying "I need to wear more color." Luckily, one of my staff members (THANKS ELISA!) gave me a few homework assignments and made sure to assign me colors I rarely wear. 12/6/12: I applied Designer Purple Pearl Glide liner all over the lid as a base - The Pearlglide liners are AMAZING! They are super bright and glittery, and what girl (or queen) doesn't like glitter? You can wear them as an eyeliner, or in my case they make a great base color. Next, I loaded up a 239 brush with Young Punk mineralize eyeshadow and pressed it into the liner. This shade is equally glittery! The photo just doesn't do it justice! *Note to self: buy a real camera.* I blended out the crease with Kid eyeshadow, a neutral flesh toned brown. Doing that blended out the purple so you couldn't see any harsh lines. My highlight, as always, was Gesso under the brow. And on the inner corners I used Vanilla Pigment. I finished with Boot Black Liquid Liner and lots of Zoom Lash Mascara! 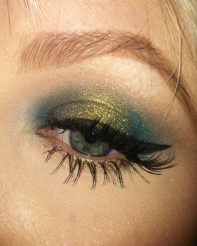 12/7/12:
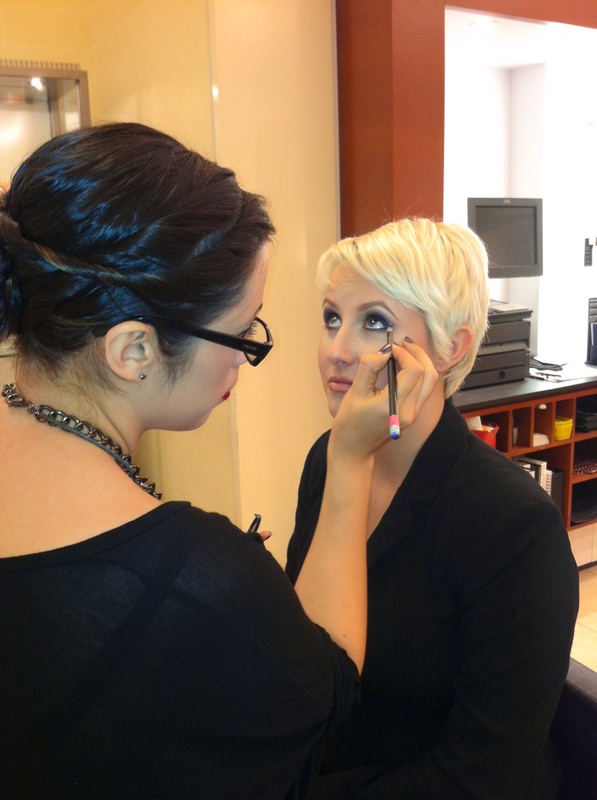
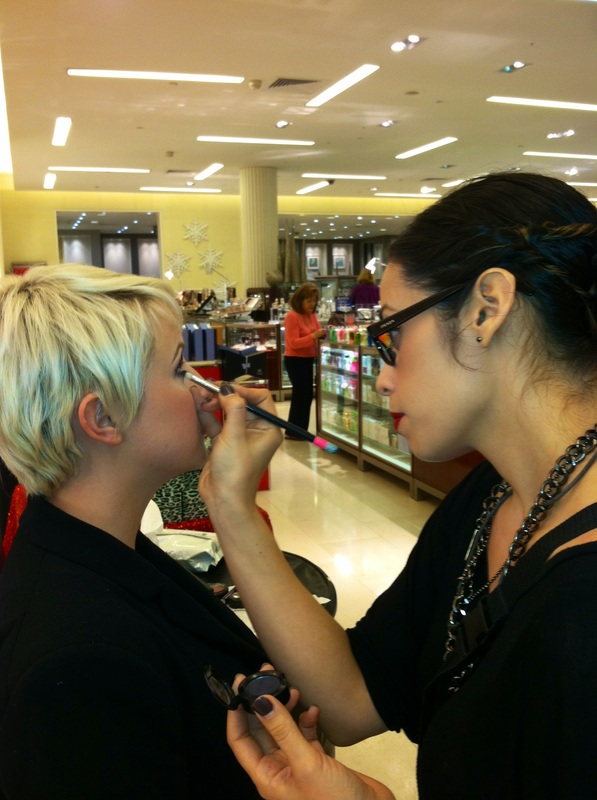
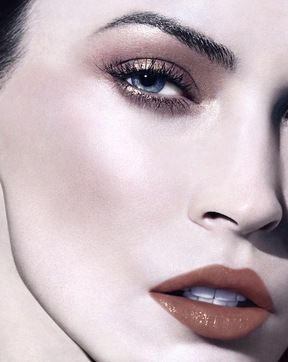
I started off by applying Undercurrant Pearl Glide Eyeliner all over my lid and blending out the edges, fading the color upwards past my crease. I've decided I need these in EVERY color! After that I took Spruce, a crushed metal from our Guilty Passions: Brilliantly Cool holiday kit, and applied it on the inner and outer corners of my eye with a 219 brush. Using a 239 brush I pressed Old Gold pigment onto the Pearlglide liner on the center of my lid. To blend out all of the edges I used a 224 brush and applied Kid to the crease. My brow highlight was Vanilla, and I finished it off with Blacktrack Fluidline and my usual #3 lashes. Don't be afraid to try new things! Breaking makeup habits and forcing yourself to try new products is the first step towards becoming a successful artist! I rarely wear bold, bright, colors on my eyes, so today Bonnie sat me down and we played with color! 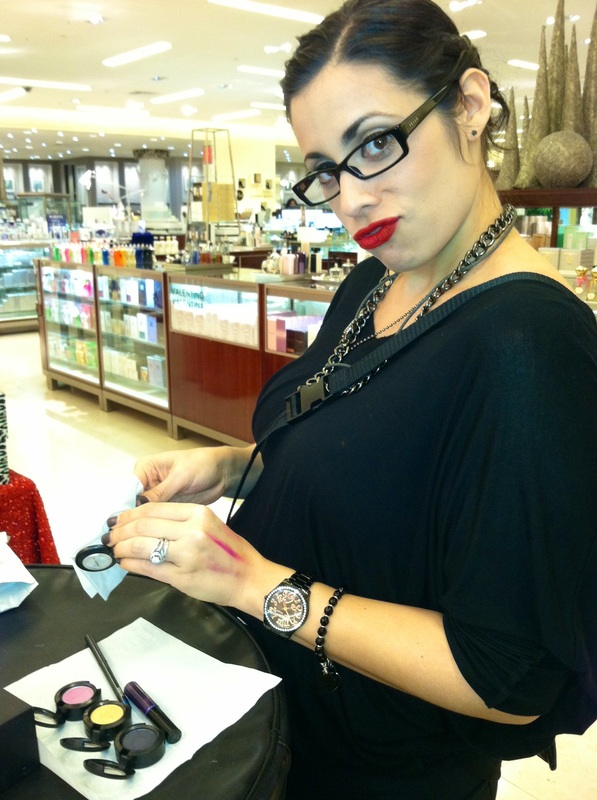
Bonnie, workin' it
It feels so weird to be the one in the chair for once!
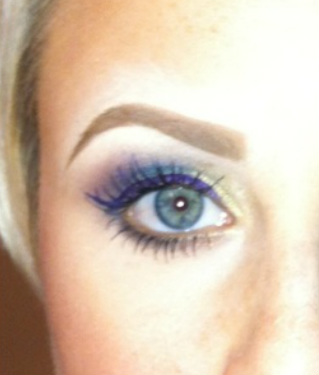
Not the best "after" photo, and please excuse my overly done brow. I filled it in for a photo for my previous post.
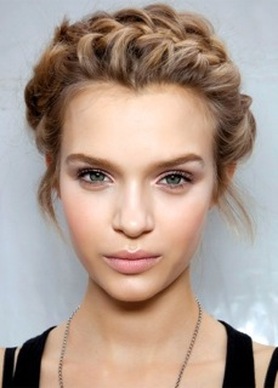
She used Gorgeous Gold, Electric Eel, Stars N' Rockets, Contrast, and a purple liquid liner... THANKS BONNIE! I have decided that for the next week I am NOT ALLOWED to touch any of my "Neutral" Palettes. I am going to challenge myself to work with more color and less neutrals...I don't know how long that'll last! 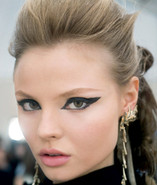 Graphic eyeliner is a classic staple look that will never go out of style! Trends regarding the style and shape change seasonally, but the basic principle will always be around. All you need is a liquid or gel liner and a steady hand! 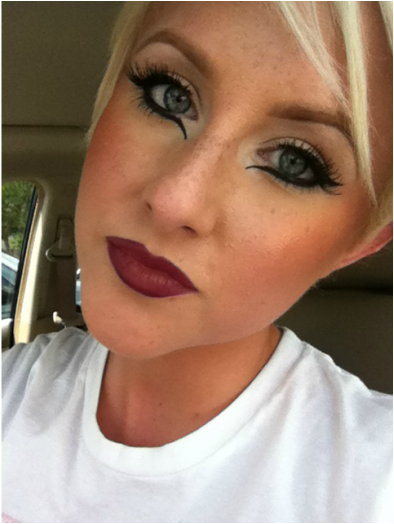 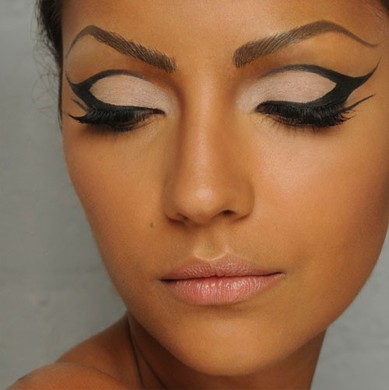 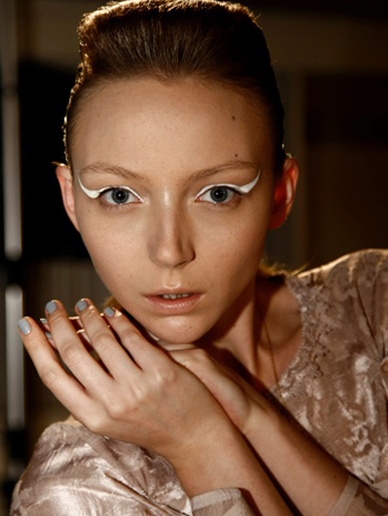 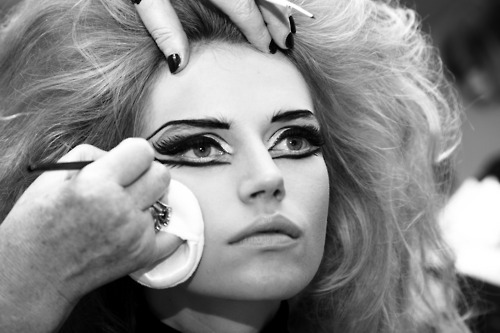  Dont be afraid to put your own spin on it! Add a different color, texture, or shape in to the mix and you may be impressed with what you come up with! I stumbled across this liquid liner tutorial online. Simple and to the point! 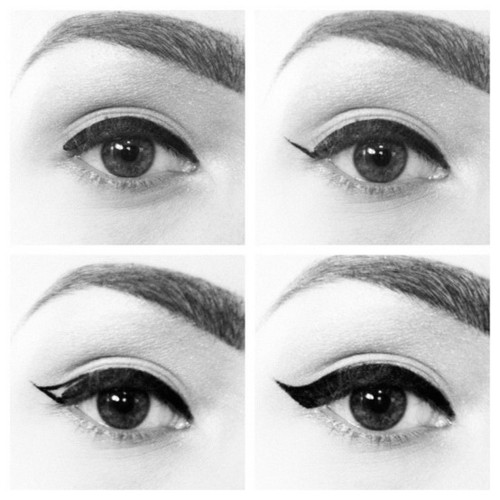 When it comes to makeup "natural" and "neutral" are two classifications that I hear frequently. Although the terms can tie in together and describe a similar look, that is not always the case. Natural makeup defines a look that is essentially nude. Think "no makeup makeup," or "second skin makeup." The color palette includes flesh tones, or colors you would naturally find in the skin without any makeup applied. Focus on highlighting and perfecting the skin to give it a "fresh faced" look. 
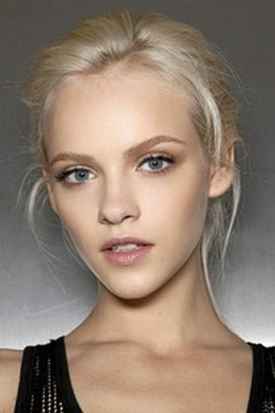

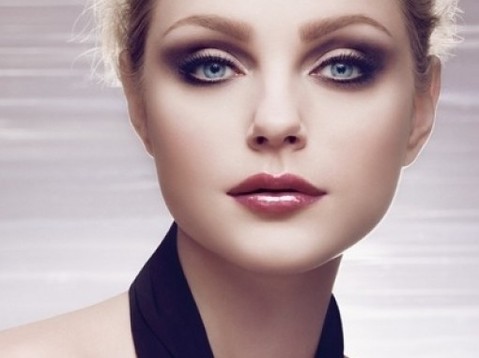
Lauren Conrad is a perfect example of natural makeup!
By definition neutral means "no color." A neutral makeup look could include muted shades of grey, earth tones, flesh tones, and shades from light to dark. Textures can be anything from matte to metallic. Neutral makeup doesn't necessarily need to be soft or light. 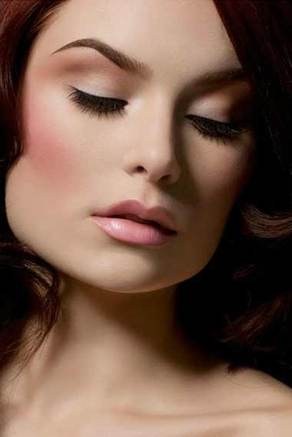
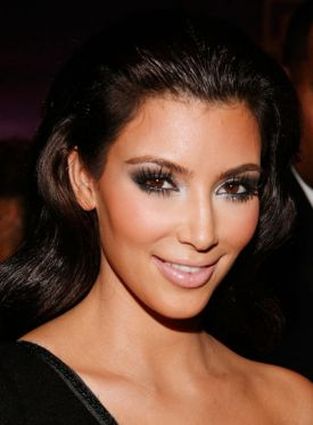
A majority of red carpet looks are kept neutral. Kim Kardashian is known for her neutral colored smokey eyes.
Face: Prep & Prime Skin Prolongwear Concealer & Foundation Studio Fix Powder Mineralize Skinfinish in Dark (contour) Peaches Blush Too Chic Beauty Powder (highlight) Eyes: Painterly Paint Pot, per usual. Nylon (lid) Samoa Silk (crease) Brown Script (crease/corner) Gesso (Highlight) Blacktrack & Fascinating Liners Zoom Lash #43 lashes Lips: Chicory Lip Pencil Crosswires Lipstick 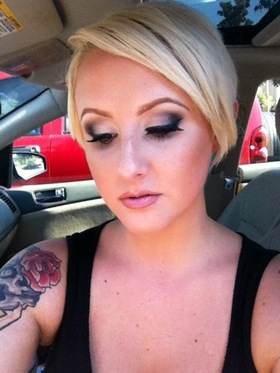
Face:
Prep & Prime Skin Studio Sculpt with #188 brush to make it more sheer Prolongwear Concealer Mineralize Skinfinish Natural Nars Laguna Bronzer (contour) Warm Soul Mineral Blush Soft and Gentle Mineralize Skinfinish Eyes: Painterly Paint Pot Crystal Avalanche (lid) Copperplate (crease) Print & Carbon (corner) Gesso (highlight) Blacktrack liner Zoom Lash #43 Lashes Lips: Honeylove Lipstick Have to Have it Liner Luminary Lusterglass 
This poor woman braved tropical storm Debby in order to get her makeup done for a family member's wedding! Talk about devoted...
Here's what I used: Eyes- Brun (eyebrows) Painterly paint pot Nylon (lid) Weathered Prolongwear eyeshadow (crease) Typographic (outer corner) Blacktrack (upper and lower lashline and waterline) Zoom waterfast lash #36 lashes Face: I did a "skin cocktail" by mixing two pumps of Studio Fix Fluid with one pump of Prep and Prime Skin and a few drops of Pink Rebel Lusterdrops. (My lovely coworker Tiffany gave me the idea!) Prolongwear Concealer (under eyes, down center of nose, forehead, around lips) Select Sheer pressed powder Cheeks: Cubic blush Give Me Sun mineral bronzer Lips: Blankety lipstick Nice N' Spicy prolongwear liner Baby Sparks dazzleglass It may be only June, but fashion week has come and gone and that can only mean one thing: the trends for this fall are hitting the market! Come August you'll start to notice the shift in trends from spring/summer into fall/winter and I can not wait! The color palette is inspired by cool tones, jewels, sepias, and neutrals. The textures play with metallic against mattes, and the skin is velvety. Lips are red and lashes are barely there. This upcoming season is all about picking a feature and amplifying it, then softly building the rest of your makeup around it. Whether it's a strong brow, geometric liner, or intense contour, this season will put a masculine spin on feminine beauty makeup. 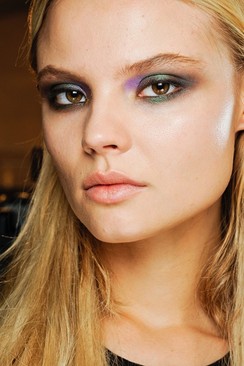
Jewel tones seem to make a comeback every winter, but this season the placement is different. Try mixing up the way you apply your eyeshadow and go outside of the box with where you place color. Mix matte and metallic textures, and skip a brow highlight. Light washes of shadow are leading this season's styles vs. high impact intense color 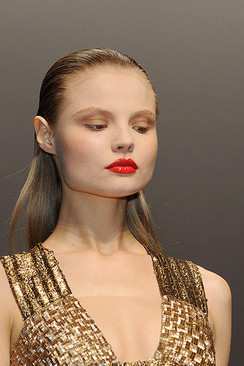
Red lips are a classic look that you can't go wrong with. The modern spin on this season's red lip is to pair it with a truly nude eye; think "no makeup makeup!" Skip on loading up on the mascara, and if you can't live without it try only applying it to the top lashes. Apply a wine or burgundy colored stain if bright red is too intense! 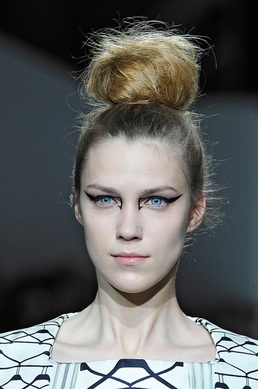
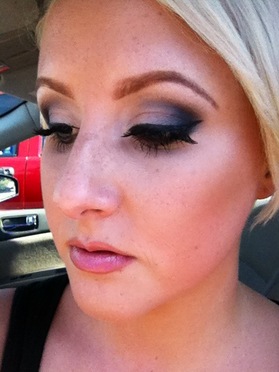
Graphic eyeliner gets more geometric this season. Instead of a classic winged out liner this look is more about adding structure and architecture to the face. Not quite the classic look of winged eyeliner, this is definitely more of a statement. 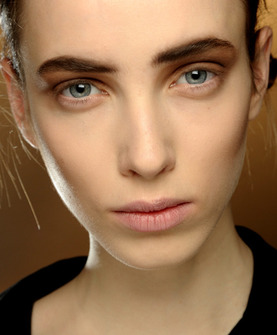
Brows are fuller and darker this season. Skip the tweezers and grab some clear brow gel! A fuller brow is youthful, but still strong.
This season's contouring and highlighting has moved on from bronzed and glowy to cool and velvety. Creamier textures in cool browns are replacing warm bronzers, and highlights are less shimmery and more subtle. The look is all about playing with the natural shadows of the face to give depth and shape. Although runway makeup is beautiful, it isn't the most wearable. Take this season's trends and customize them to fit your lifestyle! Work with products you have, perhaps applying them with a new technique or placing them differently. You'll be surprised with what you end up with! Don't be afraid to be a little messy or make a mistake. Makeup isn't supposed to be perfect and clean. My first client today was on her way to have her engagement photos taken, and I jumped on the opportunity to take a few photos of my own! Clearly I'm not a photographer, but here are her before and after photos: 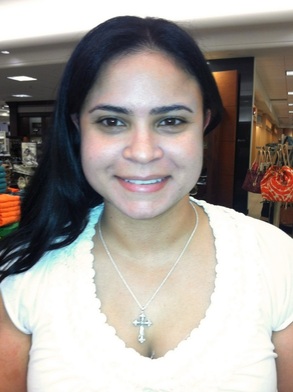
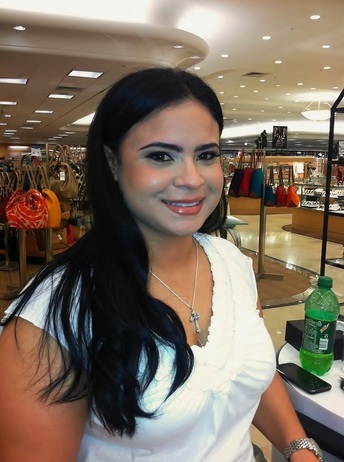
I'm a total sucker for beauty makeup, especially bridal makeup. On Janette we decided to go with light brown shades on the eyes, and keep the lashes and skin the main focus. I used #4 lashes from MAC, which are great for brides! They are natural, but still elegant and sexy.
We kept her foundation light and matte. Satin textures photograph beautifully, but for a beach shoot in Florida we needed as much shine control as possible! I used one sheer coat of prolongwear concealer as a foundation and Prep & Prime highlighter under the eyes and on the high planes of her face. I finished off the skin with a light dusting of mineral powder. For cheek color I used Keep It Loose causual colour from MAC. These are AMAZING cream blushes that double as a lip color. Not only are they convenient, but they are practical and simple to use. Creamy products always look nice in photos, and they give the skin a nice glow without being too shiny. On her lips I used Modesty lipstick, Nice N' Spicy Prolongwear Lipliner, and Big Baby Plushglass. I can't wait to see the professional photos! Howdy y'all! Here's yesterday's makeup of the day. I decided to follow my previous post with one of my favorite smokey eye combinations. 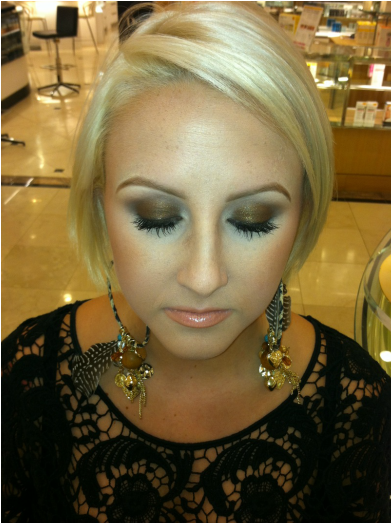 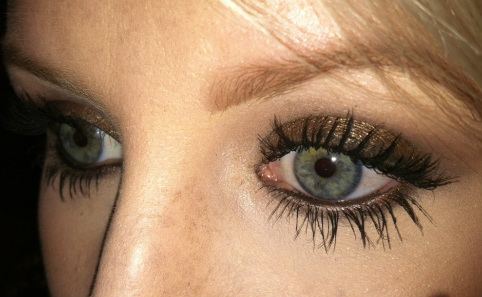 First, I applied a dark base all over the lid; I used Blitz & Glitz Fluidline from MAC. Then I packed Bronze eyeshadow onto the lid with a shading brush like the 239. Next, I blended Charcoal Brown eyeshadow into the crease with a 217 brush. This step is key because it gives the smokey eye a blended effect. Finish it off with your favorite brow highlight, eyeliner, and and a few coats of mascara!
I contoured my face with a 109 brush and Dark mineral powder. Follow the hollows of your face. The point of this is to play with light and shadow! Wherever your face sinks in is where you want to apply your contour; I.E: under your cheekbones, temples, jawline, etc... On the cheeks I applied Peaches blush, and Pearl cream colour base as a highlight. For a lip color I chose Freckletone lipstick, Subculture liner, and Orange Tempera gloss. Best of luck :) |
Lindsay TravisMy attempt at keeping up with the times... Archives
June 2016
Categories
All
|
 RSS Feed