|
I've been on a bit of a hiatus lately, but as of tonight I'm back in action! As most of you know, I recently transferred to another MAC that is a bit closer to my house...Can't beat a five minute commute! Between transferring to a new store, and the chaos of every day life, my blog fell to the bottom of my to do list. Womp. Womp... So, to get back in the swing of things, here are a few photos from shoots, weddings, and of course HALLOWEEN!        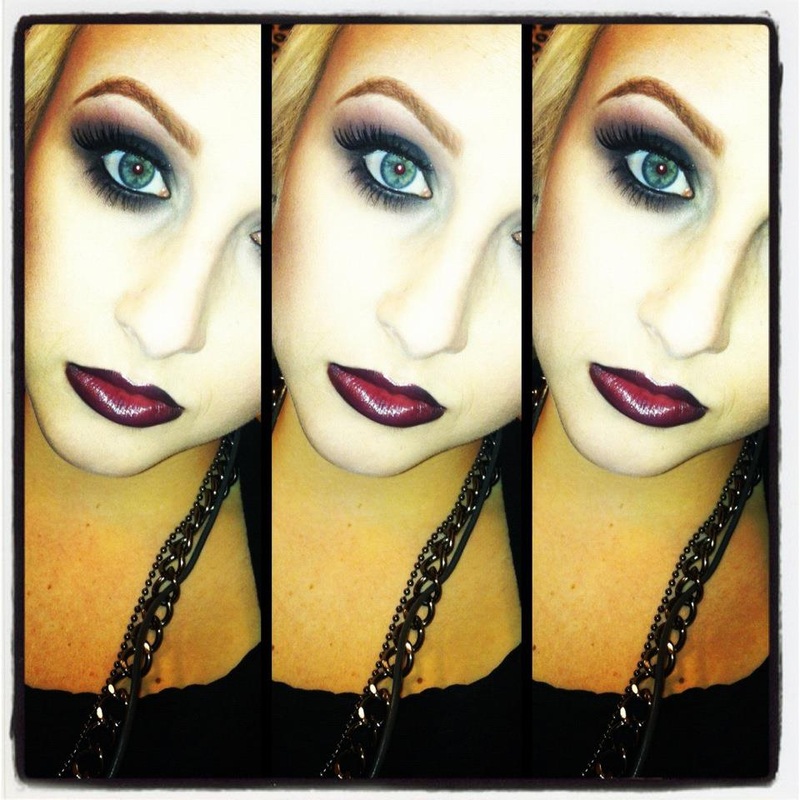 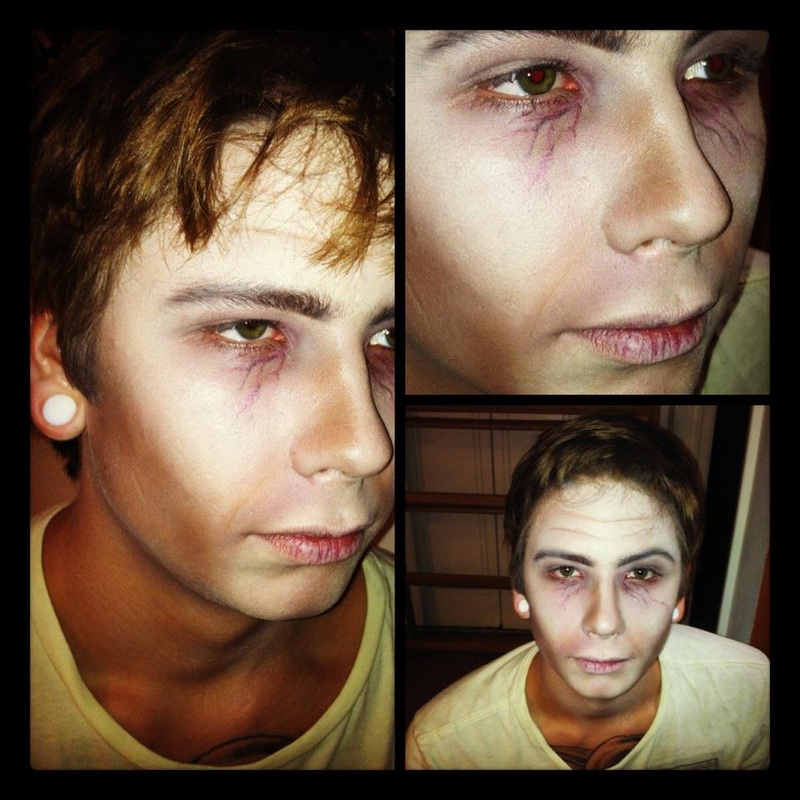 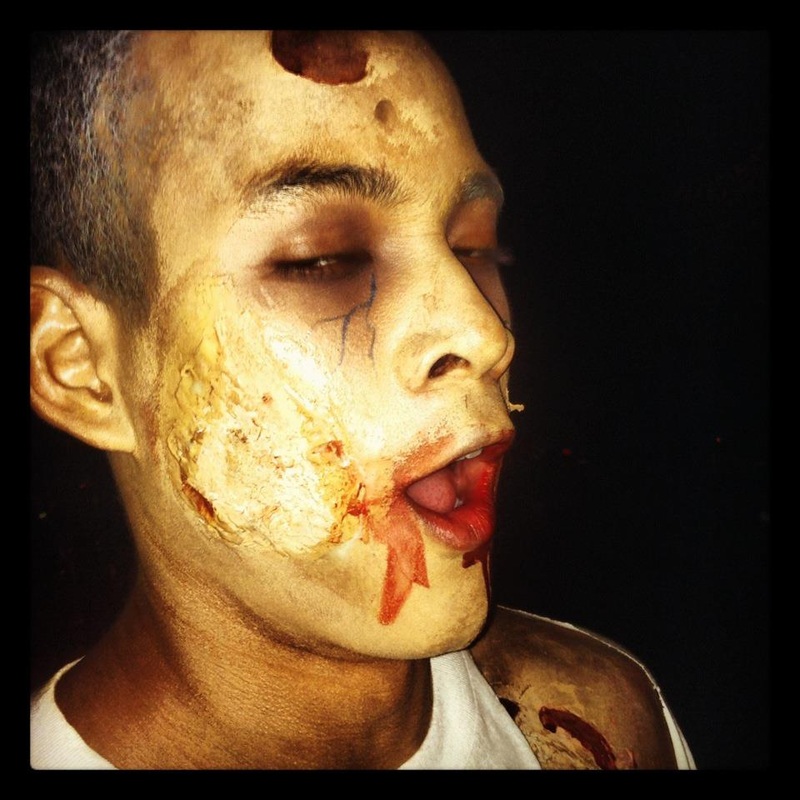  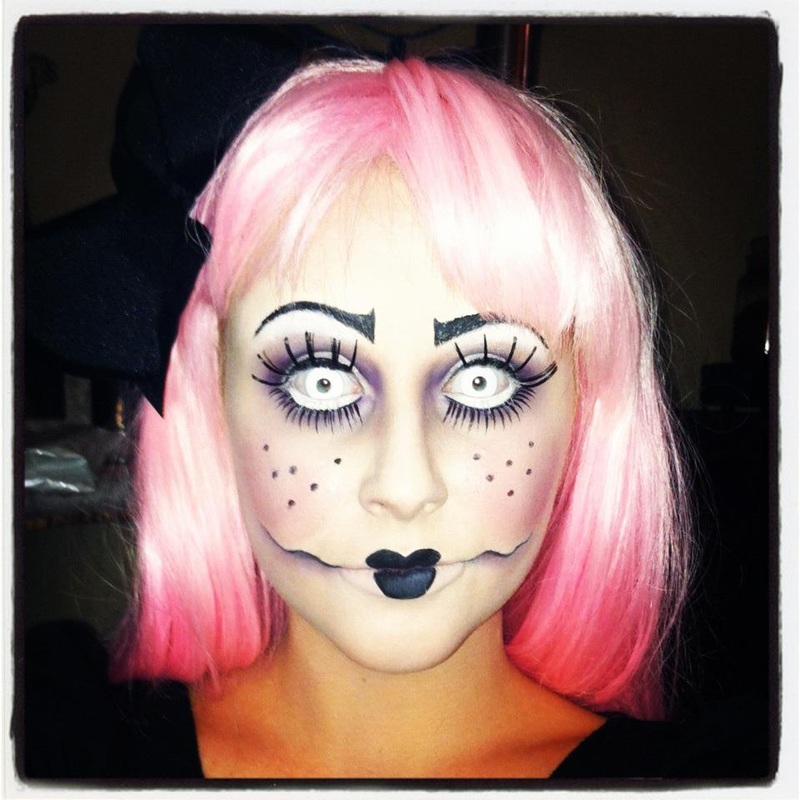 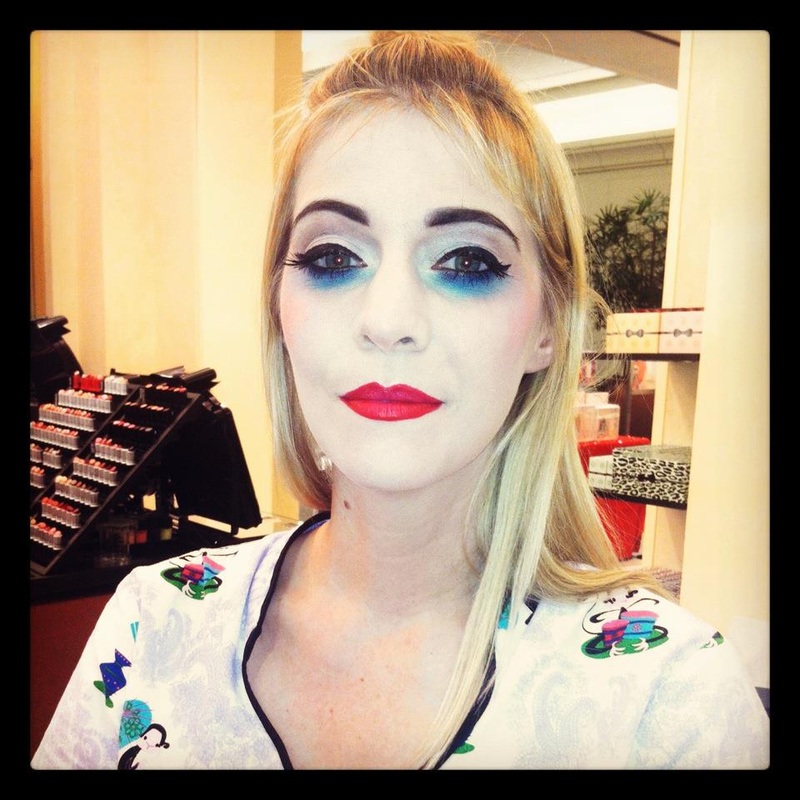 Halloween was great! It is, understandably, my favorite holiday of the year! Although, I'm sure most makeup artists would agree with me on that one. Since Halloween fell on a Wednesday this year I was fortunate enough to have Halloween appointments almost every day of the week leading up to the 31st.
Matt, my boyfriend, went as Jack the Ripper (seen above). Since his identity is unknown I decided to make him look aged, tired, and "corpse-like." We used a light foundation all over, and I contoured him heavily with cream and powder products. The new MAC sculpting creams worked great for this project! I was able to contour his face as well as create lines and wrinkles. To set the contours and to give his eyes a tired look I used grey and mauve toned eyeshadows. Quarry and Haux by MAC were ideal shades for the look we were going for! For the veins under his eyes I used a cream blush from MAC called "tea petal." Eli was SUPPOSED to be a vampire! He showed up at my house with a last minute change of plans: Zombie makeup. Luckily, he's my friend....and I had a latex piece of "rotten flesh" lying around. Using spirit gum I attached the piece to his cheek and blended out the edges by building up a few layers of liquid latex. I also put a very thin layer of liquid latex across his forehead, this later served as peeling flesh. Once that was completely dry I applied a light colored full coverage foundation over his face, ears, chest, and hair. Then I darkened they eyelid and area under the eye to give the illusion of a deep-set, hollow eye. I added a few veins using a blue paint pot, and finally set everything with a loose powder. To "zombiefy" his skin I tugged and pulled at the liquid latex on his forehead to create "holes" and "peeling flesh." Using MAC contour creme and fake blood I colored the wounds accordingly. Earlier in the week I decided to play around with some makeup during a fit of boredom. I took inspiration from my Halloween costume last year, as well as several other doll makeup images found on Pintrest and Google. The first thing I did was conceal my eyebrows using a glue stick and concealer. There are a ton of tutorials on Youtube that give step by step instructions on how to do that! For my skin I mixed Vanilla pigment with a light full coverage foundation, this gave the skin a plastic shiny look. I set the foundation with translucent powder and sprayed Fix + to maintain a dewy finish. After the skin was done I drew on an exaggerated cartoon like eyebrow using Blacktrack Fluidline. I used matte purple shades on the eyes and made sure to apply the makeup in a very round shape to make the eyes look big and doll-like. I Finished the eyes with eyeliner, black on top and white kohl on bottom, and false lashes. I applied the lower set of lashes below my natural lashline to enlarge my eyes. I applied a bubblegum pink blush on the apples of my cheeks in a circular shape and added some freckles with my Fluidline. Still using the Fluidline, I drew a glasgow grin and a cupie style lip. What did you dress up as for Halloween?
0 Comments
|
Lindsay TravisMy attempt at keeping up with the times... Archives
June 2016
Categories
All
|
 RSS Feed