|
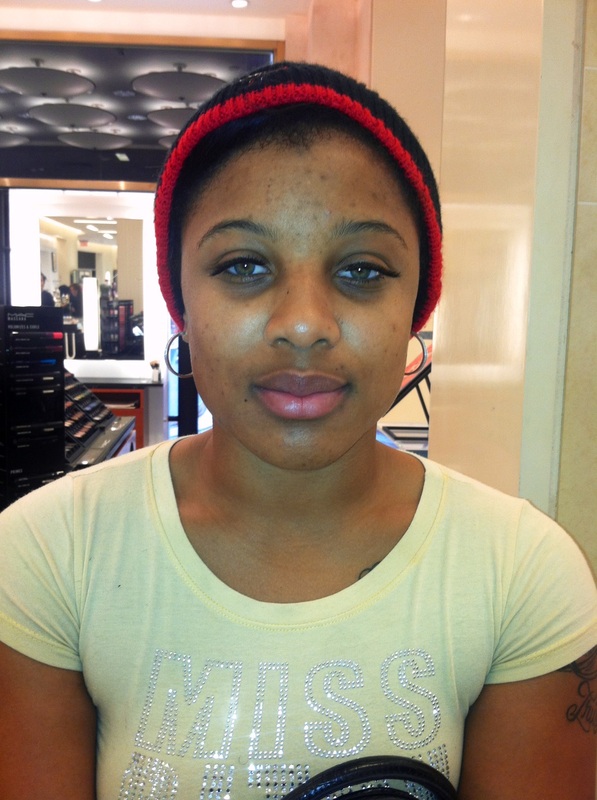
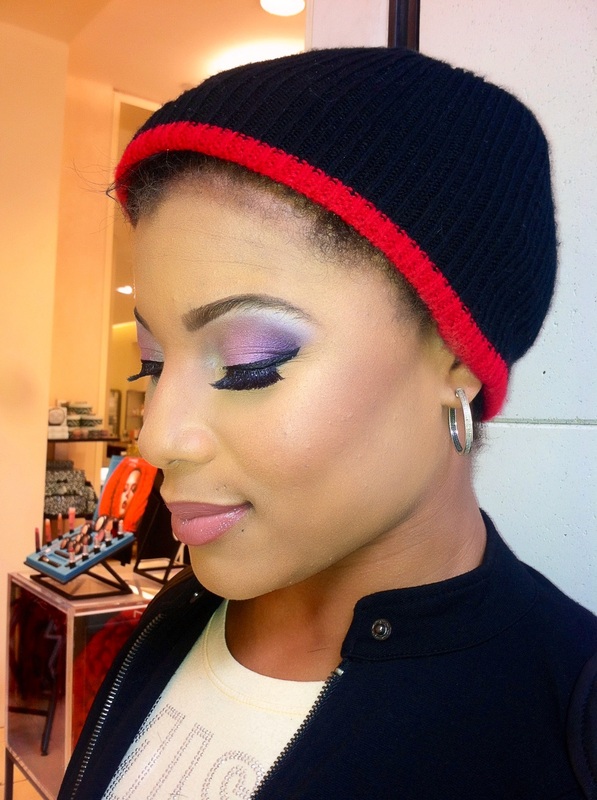
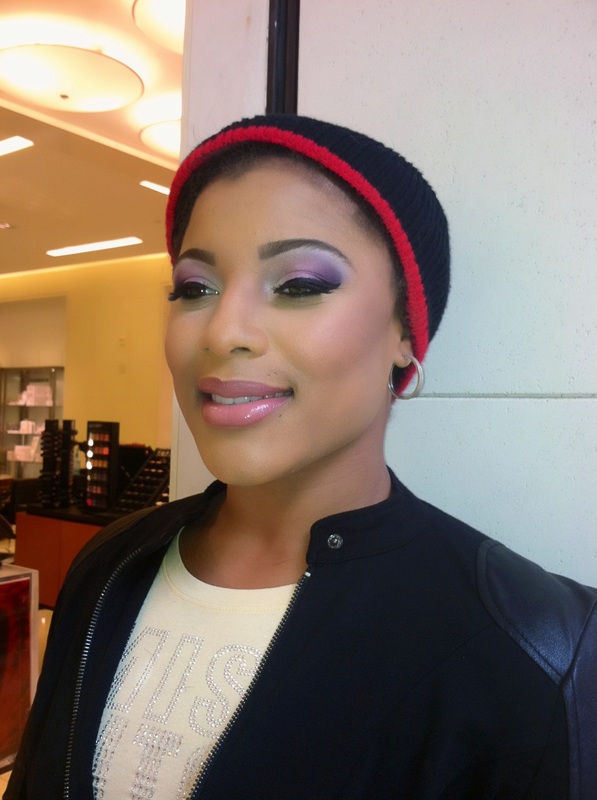
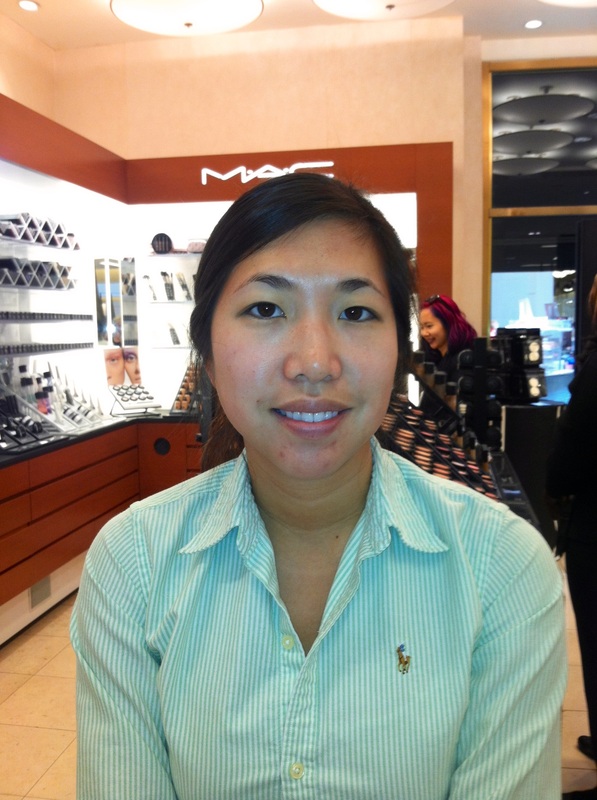
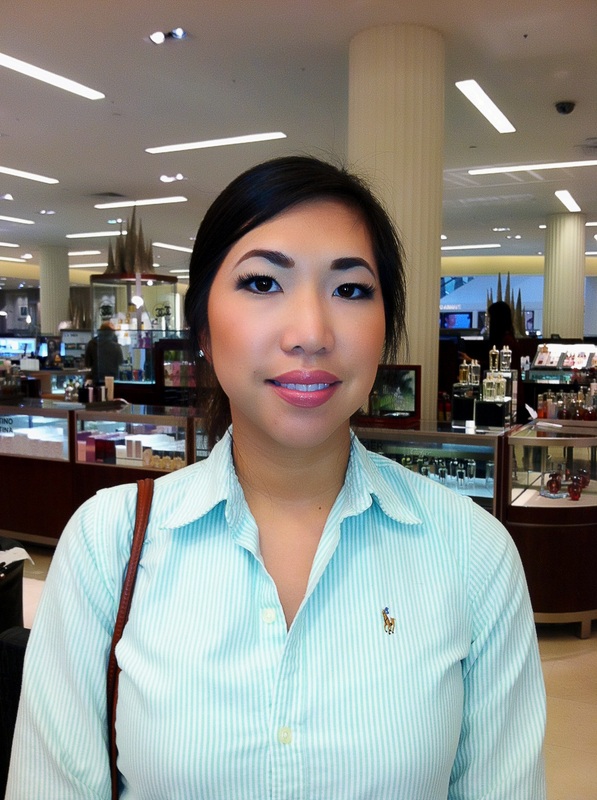
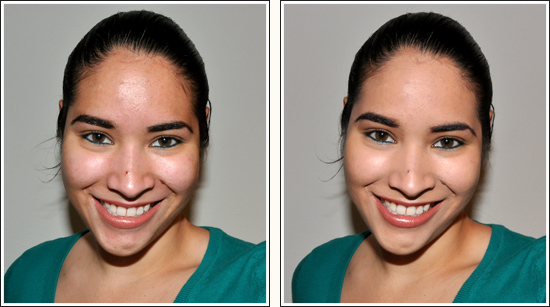
I've been layin' low the past couple of weeks, but don't fret! I stocked up on plenty of photos to keep you guys updated! Here are a few appointments I had over the past couple weeks... This is Raquel, don't even get me started on those eyes of hers!! She never wears any makeup, so we decided to go big or go home! We were both really pleased with the end result... Raquel struggled with her skin in the past, which left her with some discoloration. After applying moisturizer and primer I perfected her skin with full coverage foundation and concealer. To keep things from being too heavy I dusted her with a light layer of loose powder. We went for bold color on the eyes with a light pink lip to compliment, and a heavy contour to show off her cheeks. I recommended she try MAC's Green Gel Cleanser as her daily cleanser followed by the Volcanic Ash Exfoliator 2-3x a week to control her oil. As a moisturizer we chose Oil Control Lotion, and I also recommended our brightening serum to help brighten and even her complexion. Skin care is the building block of any good makeup application! I can't stress enough how much a good skin care regimen will improve to look and wear of your makeup! If you struggle with discoloration from scarring or sun damage look for products with yeast, vitamin c, and green tea. Products Used: Oil Control Lotion followed by Prep & Prime Natural Radiance Studio Fix Fluid Studio Finish Concealer Contour Creme Select Sheer Loose Powder in 2 shades - one under the eyes to set her highlight, and one that matched her skin all over. Gentle Blush Shell Creme Colour Base Spiked Brow Pencil Soft Ochre Paint Pot From light to dark: Nylon, Fushia pigment, Violet pigment, Fig 1 Bisque as a highlight Boot black liner & Smolder on the waterline **She already had on lashes** Viva Glam 5 lipstick Whirl Liner Mineral Tinted Lip Balm in Stay Warm Winny came in for her wedding last week (CONGRATS!) She wanted a very natural, soft, subtle look... Everything was kept very lightweight and minimal! Perfect for a small intimate wedding! I can't wait to see her professional photos...
Products Used: Prep & Prime Skin Face & Body Foundation Select Cover Up Select Sheer Pressed Spiked Brow Pencil Soft Ochre Paint Pot Sweet Satisfaction Prolongwear Eyeshadow Brown Down Blacktrack Fluidline #36 lashes Zoom Waterfast Lash Give Me Sun Bronzer Warm Soul Blush Soar Lipliner Syrup Lipstick Viva Glam 6 Gloss
0 Comments
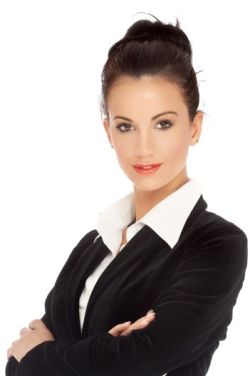 It's getting to be that time in our lives when we need to shed the college girl look and grow into a more mature style. Transitioning from sweat pants and last nights smeared eyeliner to business attire and lipstick can be quite the adjustment, but at some point we all must do it! A girlfriend of mine contacted me this evening asking advice on how to look more mature for her upcoming job interview. This really got me thinking! As young women entering the workforce we face a significant struggle when we want to be taken seriously and seen as educated professionals. The challenge becomes even harder when we are cursed, and at the same time blessed, with a juvenile appearance. As a young twenty something, I can share the frustration of many young women fresh out of college. Being qualified for a position and being turned down simply because of a young and inexperienced appearance can be very frustrating! Here are a few tips to help you prepare for that upcoming interview at a "Big girl" job! 1. Do your eyebrows! Keeping your brows groomed and filled in will add an instant lift and structure to your face. If you are blonde choose a shade darker than your hair, and if your hair is dark be sure to chose a shade lighter than your hair! You'd be surprised how something so simple can make such a difference! 2. Wear foundation. Yes, even if you have good skin! Whether its a tinted moisturizer or full coverage, foundation will help even out and brighten your skin. I would suggest going to your local makeup counter and having one of the artists match you up to the proper foundation. Don't be afraid of that "cakey" look! If you are matched to the right kind you wont be cakey! Remember- the key to having good looking foundation is to use proper skin care! 3. Wear a lipstick with some color! Berry and rose tones tend to look good on most people. Stay away from pastels and nudes which tend to look young and trendy. Look for more classic timeless shades that aren't too dark or bright for the office. I love Viva Glam 6 from MAC with Half Red or Whirl lipliner- looks great on almost everyone! For darker skinned girls try Sheer Plum lipstick with Plum, Cork, or Chestnut liner.
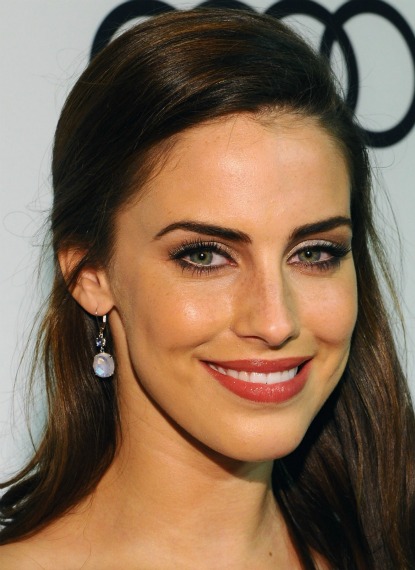
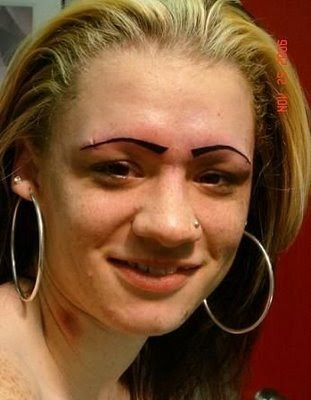
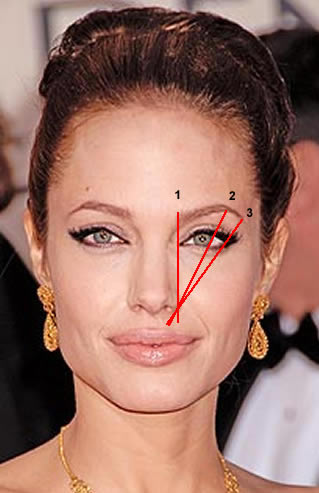
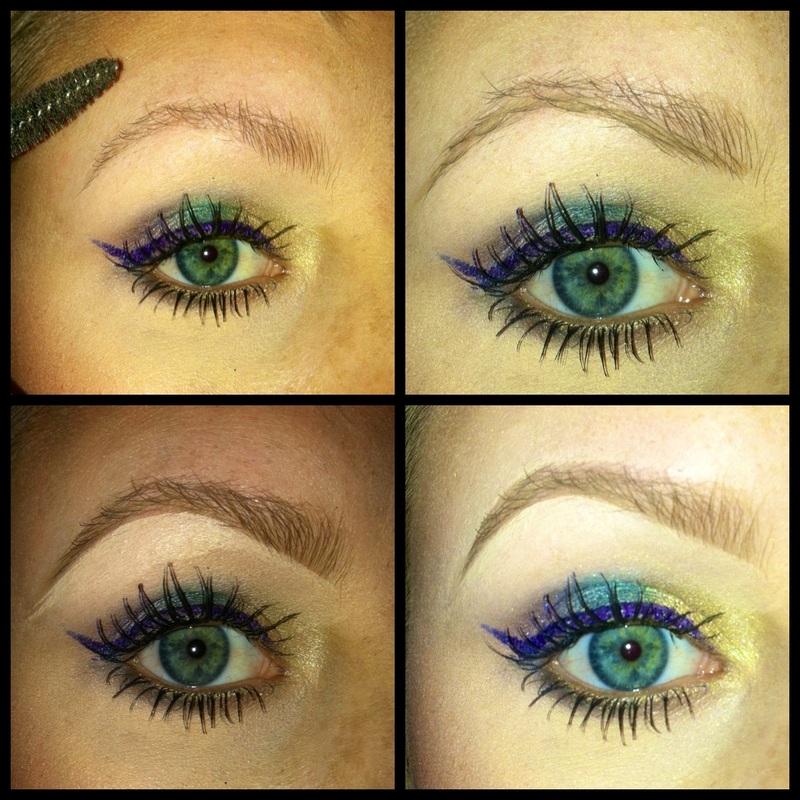
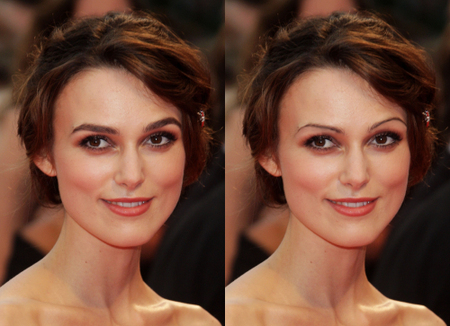
A few more helpful tips... *Use mostly matte shades. A subtle shimmer on the eyes is alright, but try to avoid using more than one shimmery shades. Also, use a matte blush or bonzer. *Stay away from pastel or bright blush, go with a more neutral shade. Some good colors include Tenderling, Blushbaby, Coppertone, and Raizin, to name a few.. *Leave your dark smudgy eyeliner behind! Smears and smudges always scream "Party girl" to me. Save that great eye kohl for the weekend. *Less is more! Don't let your makeup draw attention away from your qualifications! Good luck! :) 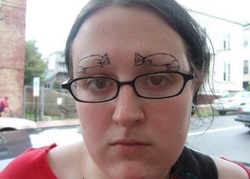 Everywhere I turn I see some hot mess brows! Ladies, let's all work together to fix this eyebrow epidemic! As a makeup artist, and I'm sure many other MUAs can attest to this, we love a good brow. The problem lies here- what is a good brow for YOUR face? Not everyone can rock a strong sculpted brow, and not everyone looks great with a thin arched brow. Let's start with figuring out which brow shape is right for you... I'm sure we've all seen some sort of variation of the above image. This is a great guideline for shaping the brow and customizing the shape to fit your face. I won't delve too deep into plucking/waxing, but I will share my number one piece of advice: follow the natural shape of your brow! It's a simple tip that is quickly overlooked. Once you have a wax, or go for threading, pluck only the small hairs that grow back over time. Leave the longer hairs alone. Over plucking can leave you looking sad, angry, concerned, and on more mature women it will add age. Keep in mind that a fuller brow is more youthful, however it can also be very masculine on some face shapes. I would suggest going to a professional and having them shape your brows to suit your features. Once your brows are groomed they are ready to be filled in! If you are blessed with a beautiful full brow, you can skip this all together! However, a majority of us could use a little brow enhancement. I prefer a sculpted brow, but one that is on the more natural side. I only fill in portions of the brow that need filling. Personally, I find that if the brow is completely filled in it can overwhelm the face and give a "tattooed" effect.... Yep, that's me a few years ago. Why anyone let me out of the house like that is beyond me. Clearly I don't have any loyal friends! This is a prime example of what NOT to do! Moving on.... Here is my updated brow routine in a nutshell: 1. Comb the hair in the direction that it grows. For most people, including myself, the hair will grow up and out.
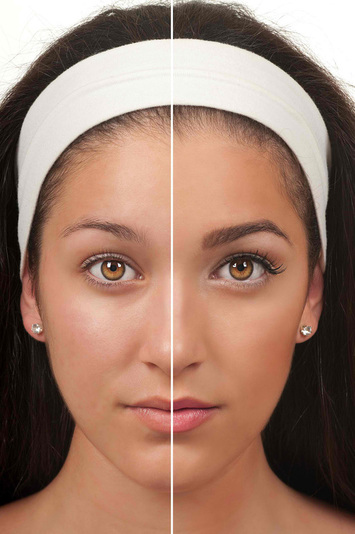
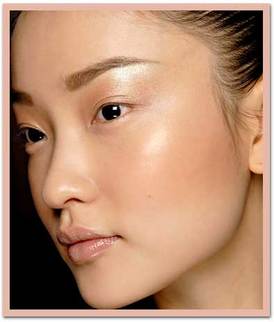
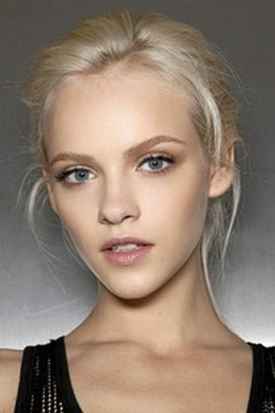
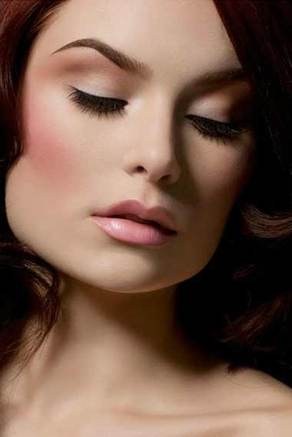
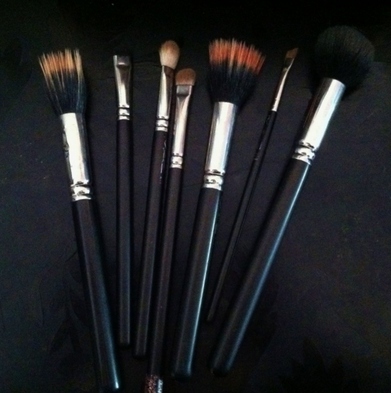
2. With a pencil or shadow, whatever your preference, draw a line along the bottom of the brow. I prefer to start in the center and work my way out. This helps avoid an "overdone" look. I use both Fling pencil and Omega eyeshadow from MAC. 3. Take an angled brow brush, like the 266 or 208 from MAC and move the brush through the brow to blend the pencil or shadow. This will move the product throughout the remainder of the brow without having to add more, leaving a more natural look. Combing through the hair also helps blend everything together. 4. With a concealer brush, like the 195, and a concealer of choice, I prefer Prolongwear Concealer in NC15, trace along the perimeter of the brow. There is really no trick to this. Simply follow around the edges of the brow with your concealer to "carve" out the shape. This gives a precise, crisp, line..If you like a super natural effect I would suggest skipping this step. Try to choose a concealer no more than 2 shades lighter than your skin. I will leave you with a photo I stumbled across this evening...This truly goes to show how the shape of your eyebrows can completely change the shape of your entire face! When it comes to makeup "natural" and "neutral" are two classifications that I hear frequently. Although the terms can tie in together and describe a similar look, that is not always the case. Natural makeup defines a look that is essentially nude. Think "no makeup makeup," or "second skin makeup." The color palette includes flesh tones, or colors you would naturally find in the skin without any makeup applied. Focus on highlighting and perfecting the skin to give it a "fresh faced" look. By definition neutral means "no color." A neutral makeup look could include muted shades of grey, earth tones, flesh tones, and shades from light to dark. Textures can be anything from matte to metallic. Neutral makeup doesn't necessarily need to be soft or light.
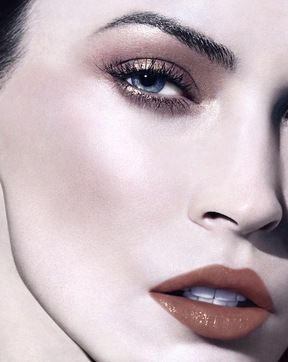
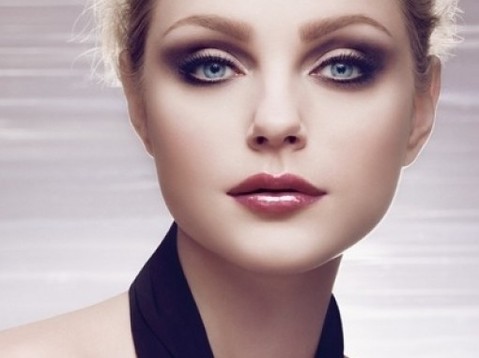
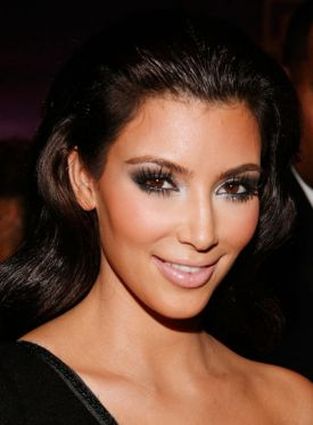
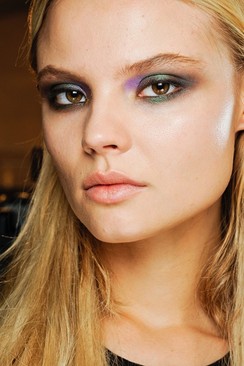
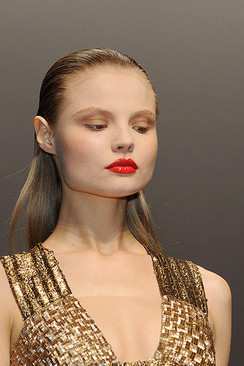
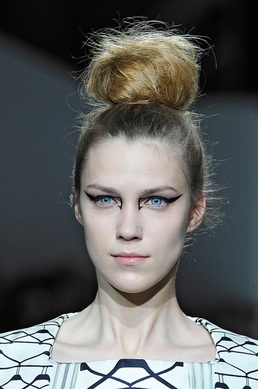
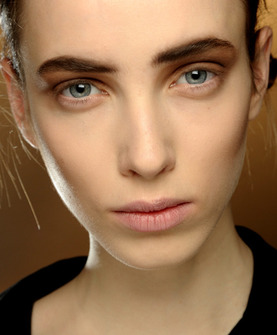
It may be only June, but fashion week has come and gone and that can only mean one thing: the trends for this fall are hitting the market! Come August you'll start to notice the shift in trends from spring/summer into fall/winter and I can not wait! The color palette is inspired by cool tones, jewels, sepias, and neutrals. The textures play with metallic against mattes, and the skin is velvety. Lips are red and lashes are barely there. This upcoming season is all about picking a feature and amplifying it, then softly building the rest of your makeup around it. Whether it's a strong brow, geometric liner, or intense contour, this season will put a masculine spin on feminine beauty makeup. Jewel tones seem to make a comeback every winter, but this season the placement is different. Try mixing up the way you apply your eyeshadow and go outside of the box with where you place color. Mix matte and metallic textures, and skip a brow highlight. Light washes of shadow are leading this season's styles vs. high impact intense color Red lips are a classic look that you can't go wrong with. The modern spin on this season's red lip is to pair it with a truly nude eye; think "no makeup makeup!" Skip on loading up on the mascara, and if you can't live without it try only applying it to the top lashes. Apply a wine or burgundy colored stain if bright red is too intense! Graphic eyeliner gets more geometric this season. Instead of a classic winged out liner this look is more about adding structure and architecture to the face. Not quite the classic look of winged eyeliner, this is definitely more of a statement. Brows are fuller and darker this season. Skip the tweezers and grab some clear brow gel! A fuller brow is youthful, but still strong.
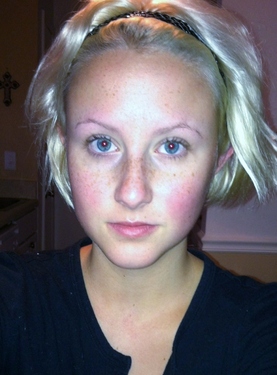
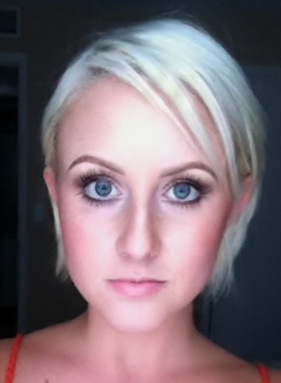
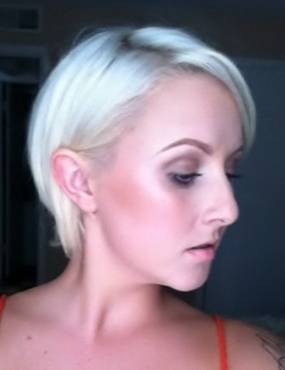
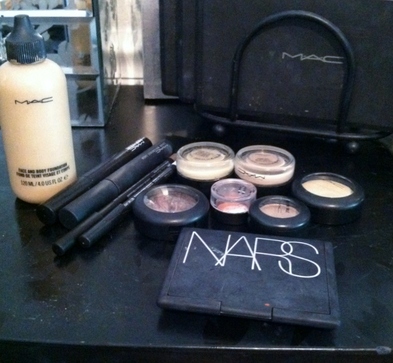
This season's contouring and highlighting has moved on from bronzed and glowy to cool and velvety. Creamier textures in cool browns are replacing warm bronzers, and highlights are less shimmery and more subtle. The look is all about playing with the natural shadows of the face to give depth and shape. Although runway makeup is beautiful, it isn't the most wearable. Take this season's trends and customize them to fit your lifestyle! Work with products you have, perhaps applying them with a new technique or placing them differently. You'll be surprised with what you end up with! Don't be afraid to be a little messy or make a mistake. Makeup isn't supposed to be perfect and clean. Let's face it, not everyone wants to tote around a makeup bag with 50 different products in it, it's just not practical. So today I gave myself a challenge: Create a polished makeup look using as few products as possible. Here's the before, after, and products I chose: I went with a natural/neutral color scheme and kept the coverage pretty sheer. I applied Prep & Prime skin beforehand to enhance the wear of the makeup and give a mild amount of moisture to the skin. For foundation I chose Face & Body foundation, which is great for a light, natural coverage. I skipped powder today in order to leave more of a shine to the skin, and went over the high planes of my face with Pearl Cream Colour Base to bring out the highlights. Nars Laguna bronzer was my contour, which I also used as a crease color instead of an eyeshadow. For the eyes I used Painterly Paint Pot, two limited edition shadows in neautral tones, and fascinating eye kohl. White eye kohl is a necessity for any natural/neutral makeup look! It opens the eye and cancels out any redness on the the water line! I filled in my brows with Dirty Blonde brow pencil and finished with mascara. The Paint Pot doubled as an under eye concealer; and I used Keep It Loose Casual Colour on my cheeks and lips! Ta-Da! Quick, low maintenece makeup!
|
Lindsay TravisMy attempt at keeping up with the times... Archives
June 2016
Categories
All
|

 RSS Feed