|
What happened? Where did I go?
Well, corporate America happened. New projects happened. Hobbies turned into passions and other passions became lost loves. Life gets hectic! Especially when solid opportunities present themselves in a way that seems just plain irresistible. But when these so called "solid opportunities" present themselves it's important to remember your "WHY." Why you started in the first place, and why you're doing what you're doing. If we don't keep focused on our "WHY" everything starts to crumble around us and we become hamsters in a spinning wheel. Take a moment today and ask yourself, "What's my WHY?" Is it your family, career growth, a dream of financial or time freedom? And then ask yourself, "Am I doing everything necessary to have the life that I want?" You may find that you too have slipped into that hamster wheel. Jump off that wheel immediately! Unless that's what you're into... then keep on trucking and don't forget to hydrate while you're running in circles. But enough jib jab. I am back and chasing after my "WHY" with a fiery passion that I will not let slip from my grip this time around! What's that mean? Well, for one this website is back up and running with a few tweaks and adjustments! I am pursuing gigs that allow me to flex the creative muscle that was feeling repressed for months and years on end, and I am taking the time to design a life that rewards and inspires not only me but everyone around me. This post is really more of a coming out than a beauty blog, but it feels so good to lay it all out there! It's freeing. Cheers to the future, friends. Do what makes you feel good, and do it with purpose.
0 Comments
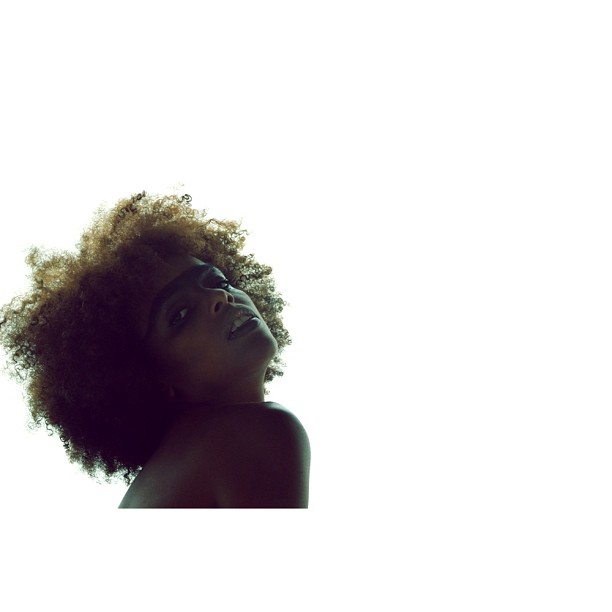
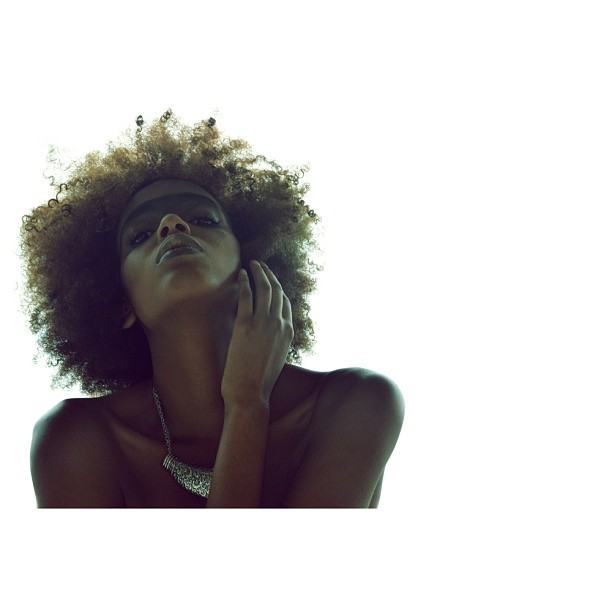
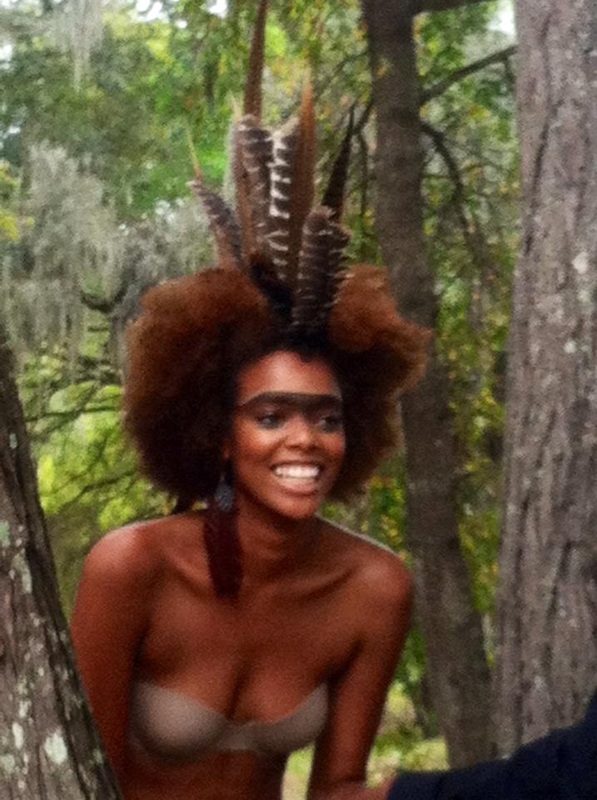
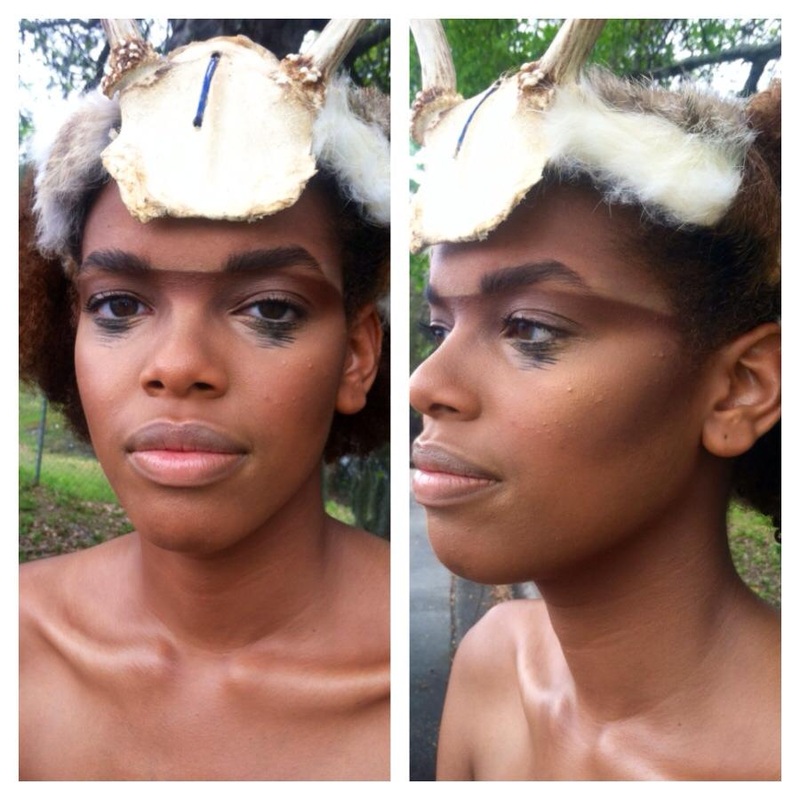
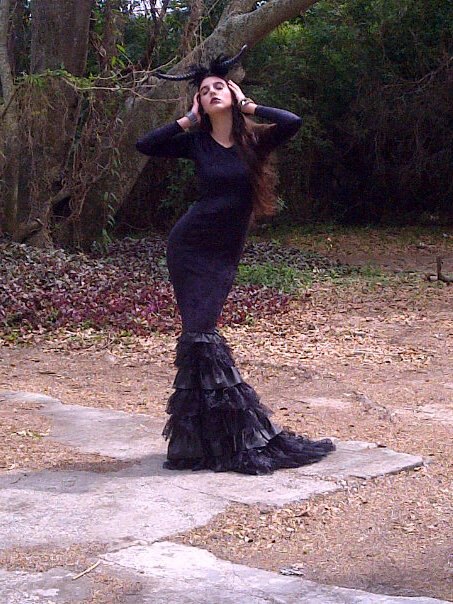
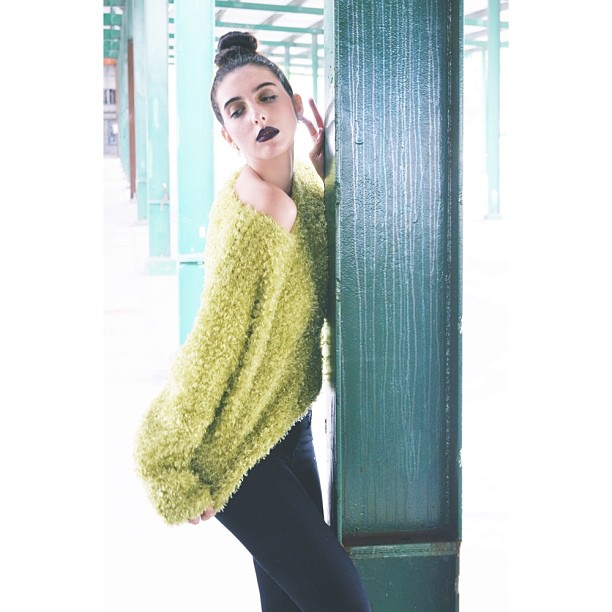
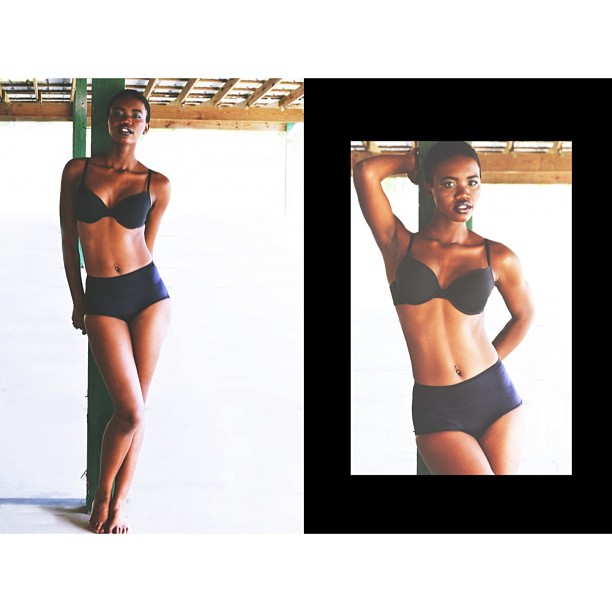
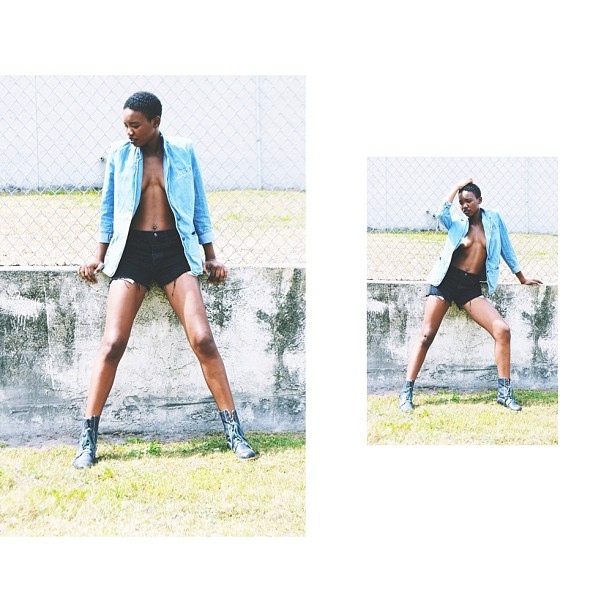
"If I told you that a flower bloomed in a dark room would you trust it?" You can find my latest editorial in See.7 Magazine this July! The editorial, Fleur Sombre (or "Dark Bloom") is loosely based on the song "Poetic Justice" by Kendrick Lamar. We had an amazing team: vision and photography by Indie Reece, Designer Dolly Donshey, and models Bridget Egan & T-Age Williams. We submitted 10 photos, which I will post once the July issue is released! "Fashion is global.
Across all seven continents people create, innovate, share, swap and reappropriate clothing every day to suit their style, to express their personal or cultural identity. By being aware of the world around us, we become aware of the opportunities that exist to identify or differentiate our own lives. By being part of the global fashion village, our own choices inform others. Every issue focuses on each of the continents, exploring the lives of those who live and work in each area. See.7 magazine distills this concept into words and images through the eyes of photographers, stylists, art directors, artists and writers from around the world." -See.7 Magazine Hello lovelies! I posted quite a few videos on my Youtube channel this evening..Check them out and let me know what you think! Don't forget to subscribe ;)
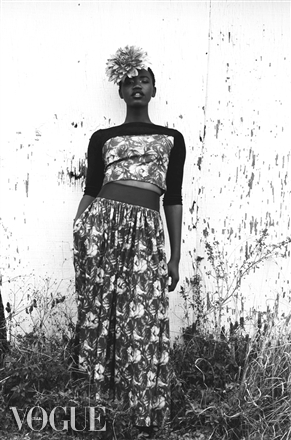
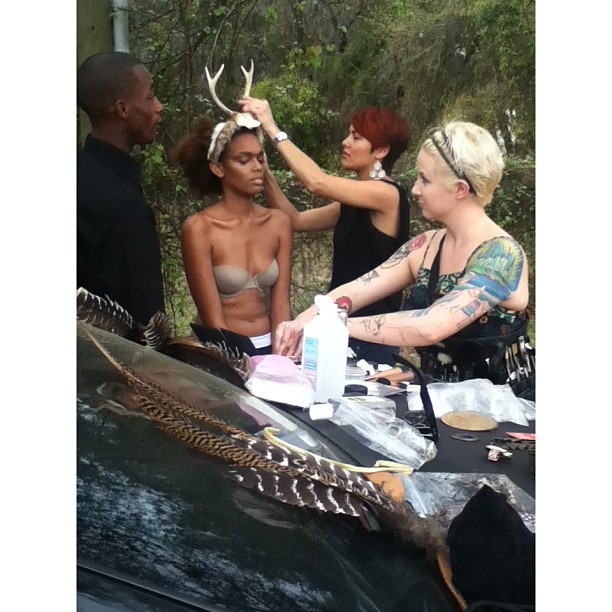
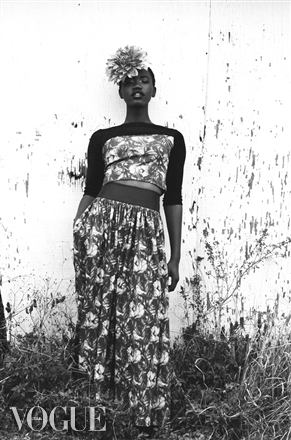
CLICK ME CLICK ME CLICK ME First and foremost, APOLOGIES! I have been SO busy and all over the place these past couple months! I know I get in little creative dry spells where I don't blog for a while, but this time I was truly a busy little bee! Let's start at the beginning.... I moved in January, so getting the house together has been quite the chore. Moving from a 600 square foot apartment to a house with more than double the space is certainly time consuming...But I wont bore you with the details of that. This is, after all, a beauty blog.. So, anyway, I also started a Youtube channel. It's been a slow moving, but successful, project so far. I'm working on getting better lighting, editing software, and what not. Stay tuned for updates in that department. My Youtube address is: www.youtube.com/litravis! Please rate, comment, and subscribe! I'd love to get this channel going and pick up some momentum! I have a few videos posted already, please comment and share if you like them! Here's the latest video tutorial for your viewing pleasure: Moving on...I recently won an airbrush system from www.bellettostudio.com/. I plan on filming a review and a few tutorials after I've had time to play around with it and see how I like it. I'm so excited to have won an airbrush machine! I just recently learned how to airbrush, so now I can offer that service to my clients in the future! I've also been working diligently with shoots, weddings, and a few other gigs here and there. My friend Reece with Indie Reece Fotografie has such a creative mind and I love working with him! We have been working on quite a few projects lately, and because they are being submitted for editorials I can't release the photos until they have been published..But a few outtakes and behind the scenes images never hurt anyone! Ok guys, and for the grand finale. This is probably some of the most exciting news ever! My makeup is featured on Vogue Italia Online!!! HOLY MOLY MOTHER OF PEARL! Reece submitted photos from his portfolio to Vogue Italia, from which Vogue selected and posted a few. All images must be pre-approved and selected before they can be featured online..SO THRILLED ABOUT THIS!
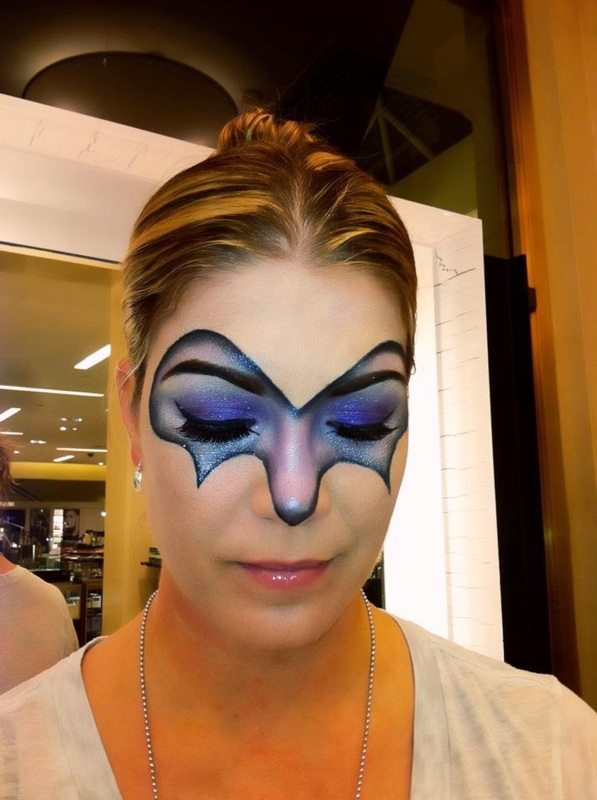
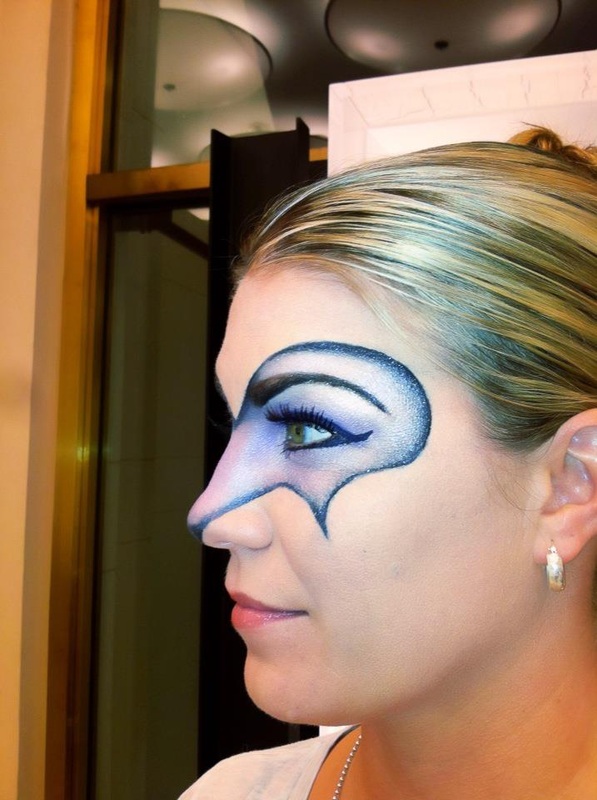
The image, along with Reece's other selected photos, can be seen here: http://www.vogue.it/en/photovogue/Portfolio/3ff52820-93c9-4399-aea5-bb18951317b1/Image And that about sums it up! These past couple months have been such a blessing! Thank you guys for reading, supporting, sharing, and commenting! Keep an eye on my Youtube for videos in the future! I just wanted to share this fun look I did for a New Year's Eve Masquerade...I would have loved to add more detail to the mask, but we only had an hour together. Luckily everything turned out great and my customer was thrilled with her mask!
This tutorial is long overdue. This was from Christmas! I know, I know, I'm lazy...
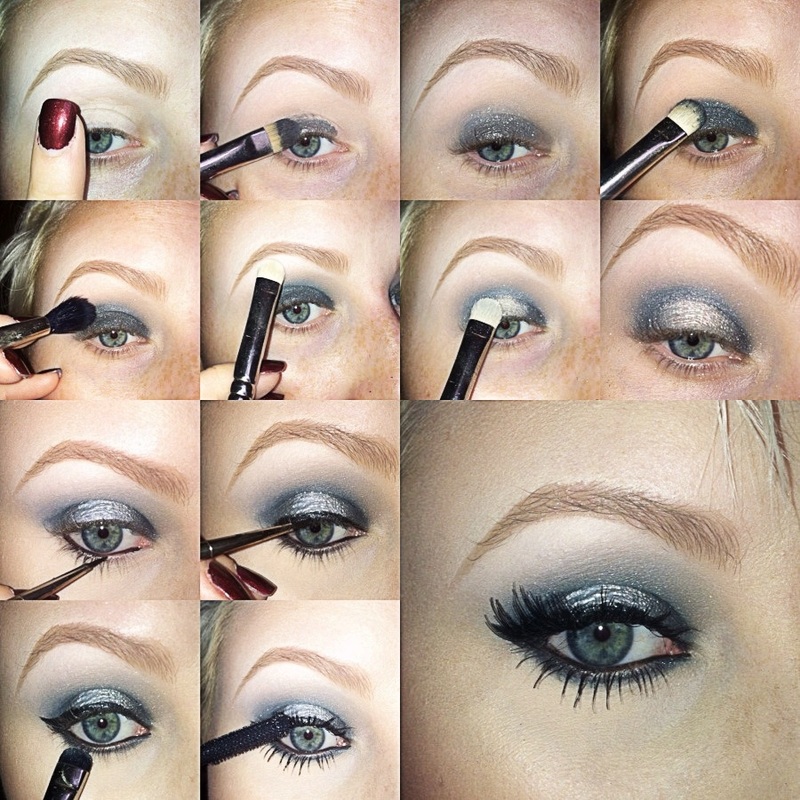
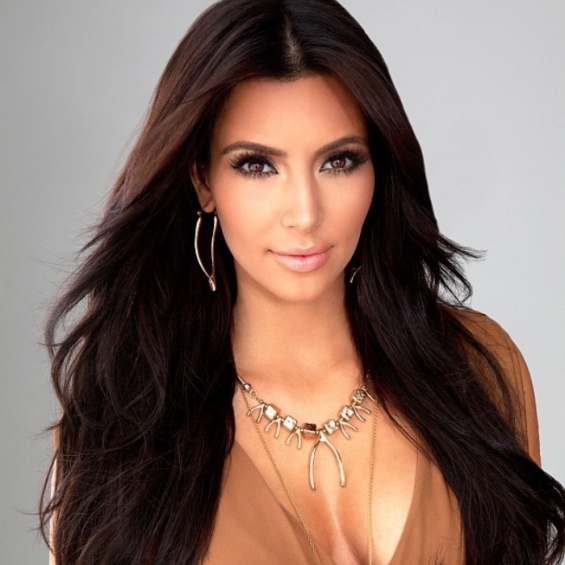
1. Prime eye with Painterly Paint Pot 2. Apply a dark base to give the shadow a smokey look. I used Blitz & Glitz Fluidline with a concealer brush. Use very little or else it will crease! 3. Blend with finger 4. With a 239 brush tap on Moonlight Night pigment 5. Blend out the edges with a 224 brush-- No harsh lines! 6. Highlight under the brow with Gesso 7. Spray your brush with Fix + and pack Vanilla pigment onto the center of your lid. For a more subtle look try applying the pigment with a dry brush. 8. Line the entire eye with Blacktrack fluidline and smudge with a 214 brush 9. Finish with mascara and falsies! Good luck! :) I mean, Kim Kardashian is one of the most beautiful women in existence....maybe not the most talented, but we can't have it all now can we?
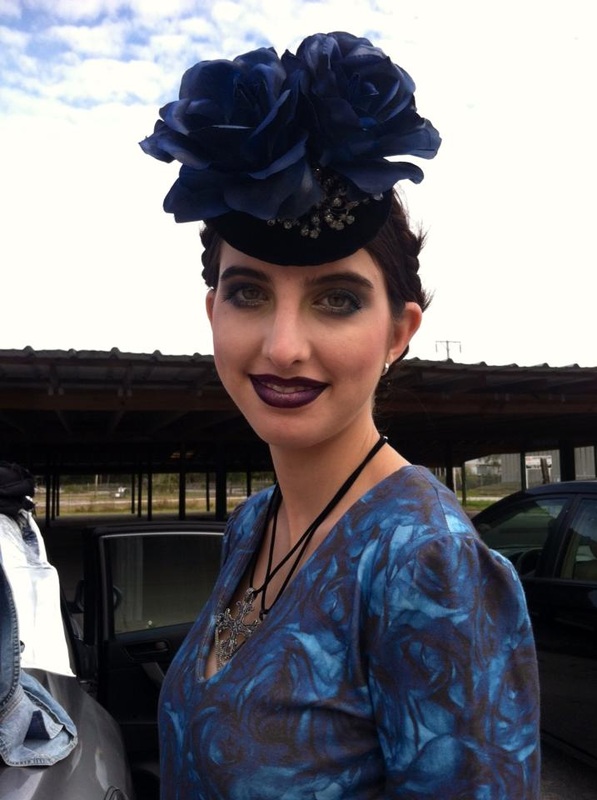
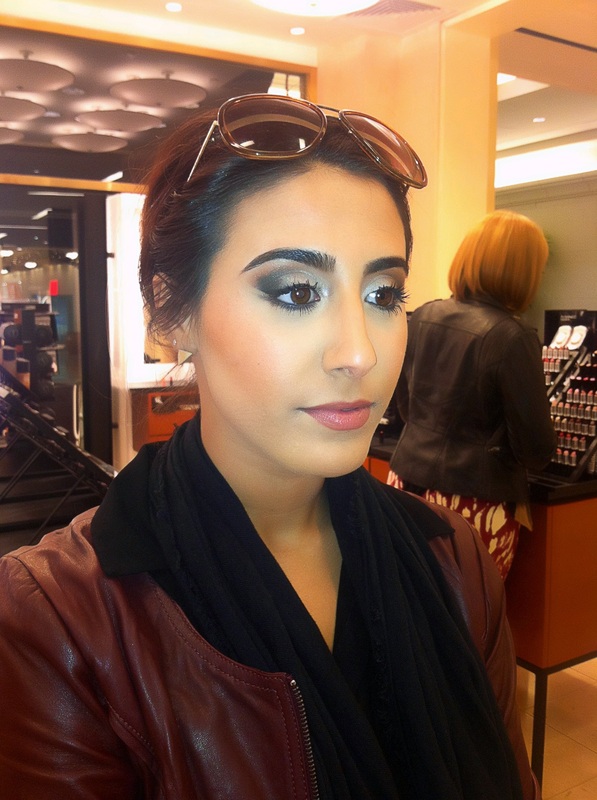
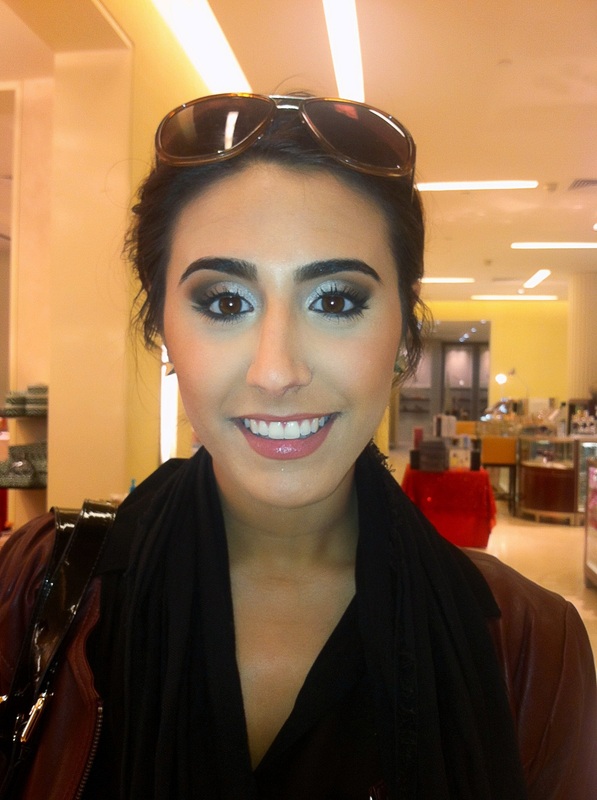
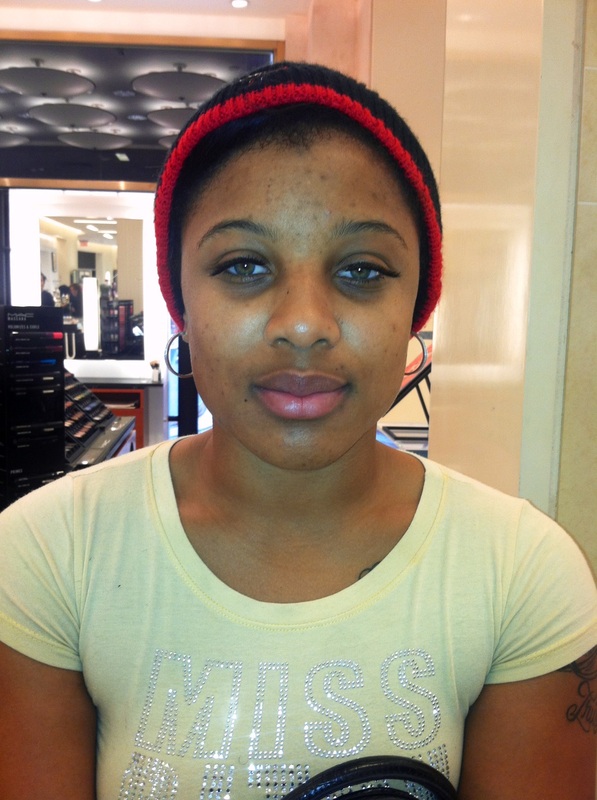
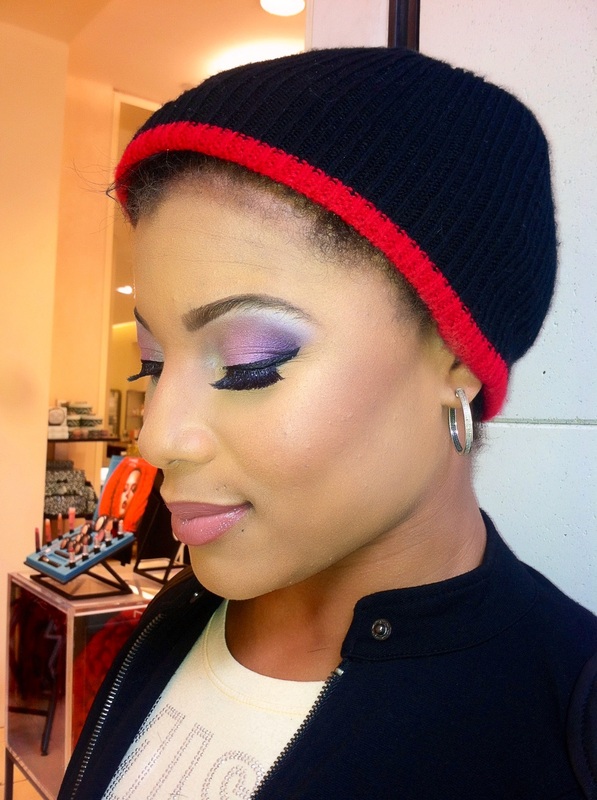
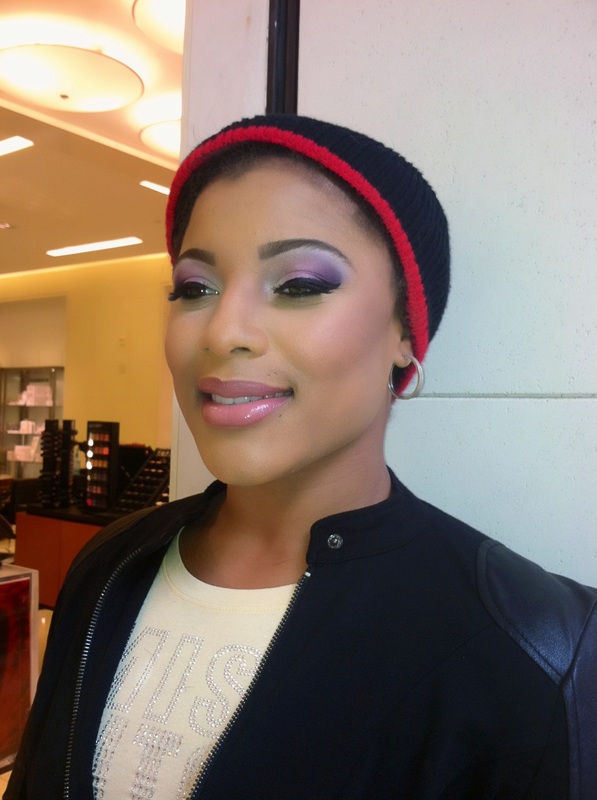
Anyway, this is Margaux. She pulls of the Kim look beautifully! I was happy to have such a lovely client to work with! Kim's signature look consists of a few main focus features: Smokey eye with lots of lashes- of course Heavy contouring and highlighting Nude lip Flawless skin There is an insane amount of detail that goes into creating this look, I think I will do a series of detailed posts regarding Kim Kardashian's makeup. In the mean time here is a brief overview.. Skin: *Any good makeup application starts with a good foundation- skin care. If you take good care of your skin your makeup with look better and wear better throughout the day! Kim's skin is always clear; even when she is photographed without makeup on, there is not a pore or blemish in sight. *Pick a foundation that is best suited for your skin type and your skin's needs. Whether it's a sheer coverage or full coverage is up to you. Everyone needs something different. Kim wears a very full coverage, but she is also in front of cameras constantly, so keep that in mind when you are shopping for a foundation. *Choose a concealer that is a few shades lighter than your skin. I like to apply the foundation first, then apply the concealer to all the high planes of the face. This will be your "highlight." There are a ton of videos on the web explaining this technique in depth... *In order to maintain that strong highlight you will need 2 powders. One for the highlighted areas and one for the rest of the face. For example: Margaux wore an NW20 powder under her eyes, but a NC35 on the rest of her face. *You can also contour with a cream product, but on Margaux I used powder. Blunt blush is a good choice for medium to deep skin tones, but make sure you start with very little and gradually build it up! The contour cremes from MAC are great if you have a little more time on your hands. *Kim always adds an extra highlight on top of everything else to add a bit of shimmer to her face. I prefer Cream Colour Base because it adds a luminous look without being glittery. It mimics the texture of dewy skin, which looks more natural but is still noticeable. It also tends to photograph better than powder highlighters. Eyes: *Kim has a full brow, but it isn't overly defined or "tattooed" looking. If you already have a full brow just fill in the sparse areas with a little bit of shadow and you're good to go. Margaux is blessed with perfect brows, so I had to do very little work in that area. If your brows are thin and sparse, like my own, try using a pencil to thicken them up a bit. Be sure to use light pressure to avoid having a heavy drawn on look. *Usually Kim's smokey eyes are in neutral shades like browns, golds, and black. On Margaux I used (from light to dark): Nylon, Saddle, Brown Down, & Carbon. Under her brow I applied Brule as a highlight. We added a clean winged out liner using blacktrack and smudged Smolder Eye Kohl into her lower lash line. *Kim ALWAYS has on falsies, and usually they are on top and bottom. Margaux went for a more natural approach and we just loaded up on Extreme Dimension Mascara. For Kim style lashes try #36 lashes on top and a few individuals on the lower lashline Lips: *A nude pink or peachy shade is key! A few go to colors are: Viva Glam 5, Creme Cup, Modesty, Hue, Viva Glam 2, Pure Zen, Fresh Brew, and High Tea *If your lips aren't as full as Kim's grab a lip liner that is just a hair darker than your lipstick to give the illusion of fuller lips! *Don't forget gloss! Kim wears creamy shades with high gloss to show off her full lips! Keep practicing and you'll have the Kim K. look down in no time! I've been layin' low the past couple of weeks, but don't fret! I stocked up on plenty of photos to keep you guys updated! Here are a few appointments I had over the past couple weeks... This is Raquel, don't even get me started on those eyes of hers!! She never wears any makeup, so we decided to go big or go home! We were both really pleased with the end result... Raquel struggled with her skin in the past, which left her with some discoloration. After applying moisturizer and primer I perfected her skin with full coverage foundation and concealer. To keep things from being too heavy I dusted her with a light layer of loose powder. We went for bold color on the eyes with a light pink lip to compliment, and a heavy contour to show off her cheeks. I recommended she try MAC's Green Gel Cleanser as her daily cleanser followed by the Volcanic Ash Exfoliator 2-3x a week to control her oil. As a moisturizer we chose Oil Control Lotion, and I also recommended our brightening serum to help brighten and even her complexion. Skin care is the building block of any good makeup application! I can't stress enough how much a good skin care regimen will improve to look and wear of your makeup! If you struggle with discoloration from scarring or sun damage look for products with yeast, vitamin c, and green tea. Products Used: Oil Control Lotion followed by Prep & Prime Natural Radiance Studio Fix Fluid Studio Finish Concealer Contour Creme Select Sheer Loose Powder in 2 shades - one under the eyes to set her highlight, and one that matched her skin all over. Gentle Blush Shell Creme Colour Base Spiked Brow Pencil Soft Ochre Paint Pot From light to dark: Nylon, Fushia pigment, Violet pigment, Fig 1 Bisque as a highlight Boot black liner & Smolder on the waterline **She already had on lashes** Viva Glam 5 lipstick Whirl Liner Mineral Tinted Lip Balm in Stay Warm Winny came in for her wedding last week (CONGRATS!) She wanted a very natural, soft, subtle look... Everything was kept very lightweight and minimal! Perfect for a small intimate wedding! I can't wait to see her professional photos...
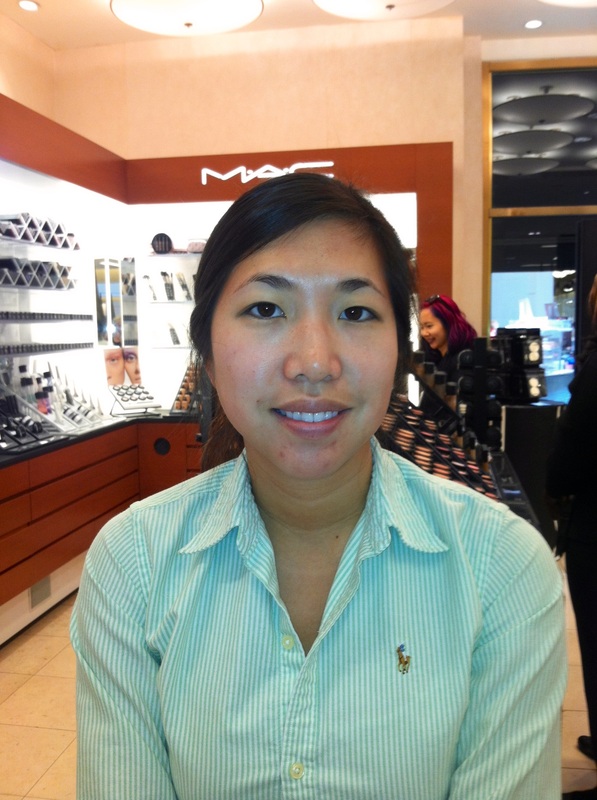
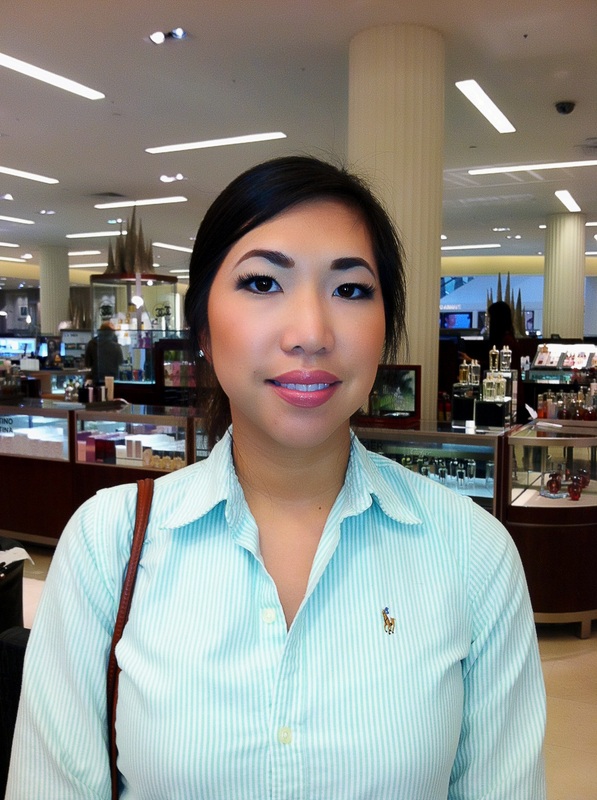
Products Used: Prep & Prime Skin Face & Body Foundation Select Cover Up Select Sheer Pressed Spiked Brow Pencil Soft Ochre Paint Pot Sweet Satisfaction Prolongwear Eyeshadow Brown Down Blacktrack Fluidline #36 lashes Zoom Waterfast Lash Give Me Sun Bronzer Warm Soul Blush Soar Lipliner Syrup Lipstick Viva Glam 6 Gloss WOO HOO! Everyone grab some popcorn and get ready to laugh at my first video! ...jk, I didn't even bother talking this time because I have no idea how to edit yet..I figured it would be safer to just keep quiet! Except around the end when I get attacked by a fruit fly. Products from start to finish: Painterly Paint Pot Smolder Eye Kohl Cinderfella Mineralize Eyeshadow with #239 brush Copperplate Eyeshadow with #224 brush Gesso Eyeshadow with #239 brush (I used a separate brush, or you can clean off the original. Make sure you don't use a dirty one or your highlight will be grey looking!) Fit + your #239 brush and re-apply the Cinderfella shadow Smolder again Carbon Eyeshadow with #214 brush Extreme Dimension Lash VIOLA! From left to right:
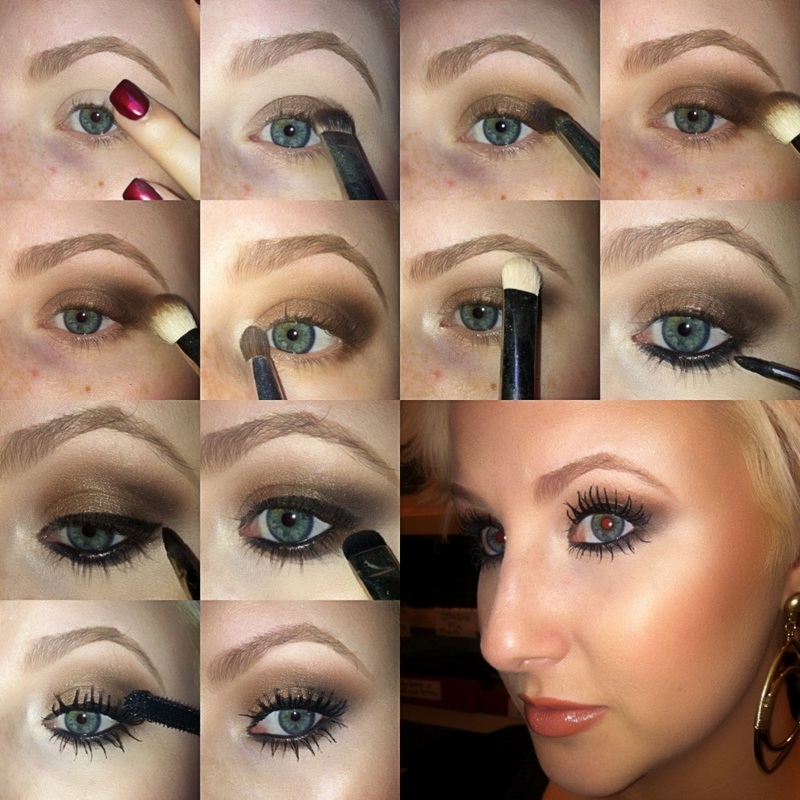
1. Prime eyes. I used MAC Painterly Paint Pot. I prefer my finger, but you can also use a synthetic shadow or concealer brush. 2. Apply Bronze eyeshadow all over the lid using a flat shader brush. I always grab the 239 or 242 for this...The more dense the bristles the more color payoff! 3. Using a deep brown, I used Bloodline pigment, and a 219 pencil brush pack the color on to the outer corner of your eye in a sideways V shape. Extend the eyeshadow a little bit further out past your lashes, this lays the groundwork for that elongated cat eye look. Bloodline is a limited edition pigment, but you could also use Smut, Handwritten, Embark, Mystery...any dark matte brown. 4. Sweep a 217 or 224 blending brush all along the crease to blend out the two shades you just applied. Focus on only touching the bristles to the crease area and try not to touch the lid at all! Blend up and out to create a gradient cat eye effect. Don't over blend! Over blending will just muddle all the colors together. 5. Take any small eyeshadow brush and apply a shimmery light color to the inner corners of your eyes. I used Nylon. This lightens the look and makes your eyes look brighter and well rested. If you have naturally wide set eyes you can skip this step. 6. Highlight under the brow bone. I almost always use Vanilla. I prefer a matte highlight, but any light shade will do. 7/8/9. Apply a black eyeliner to the top lashline, water line, and then smudge into the lower lashline with a 214 brush. I used Blacktrack fluidline, but you could also use Smolder or Feline Eye Kohl for a super smudgy smokey effect. You can also wing out your eyeliner to enhance the cat eye effect created with the eyeshadow! 10. Finish with mascara! TA-DA! Good luck! |
Lindsay TravisMy attempt at keeping up with the times... Archives
June 2016
Categories
All
|

 RSS Feed